Commissioned Recut
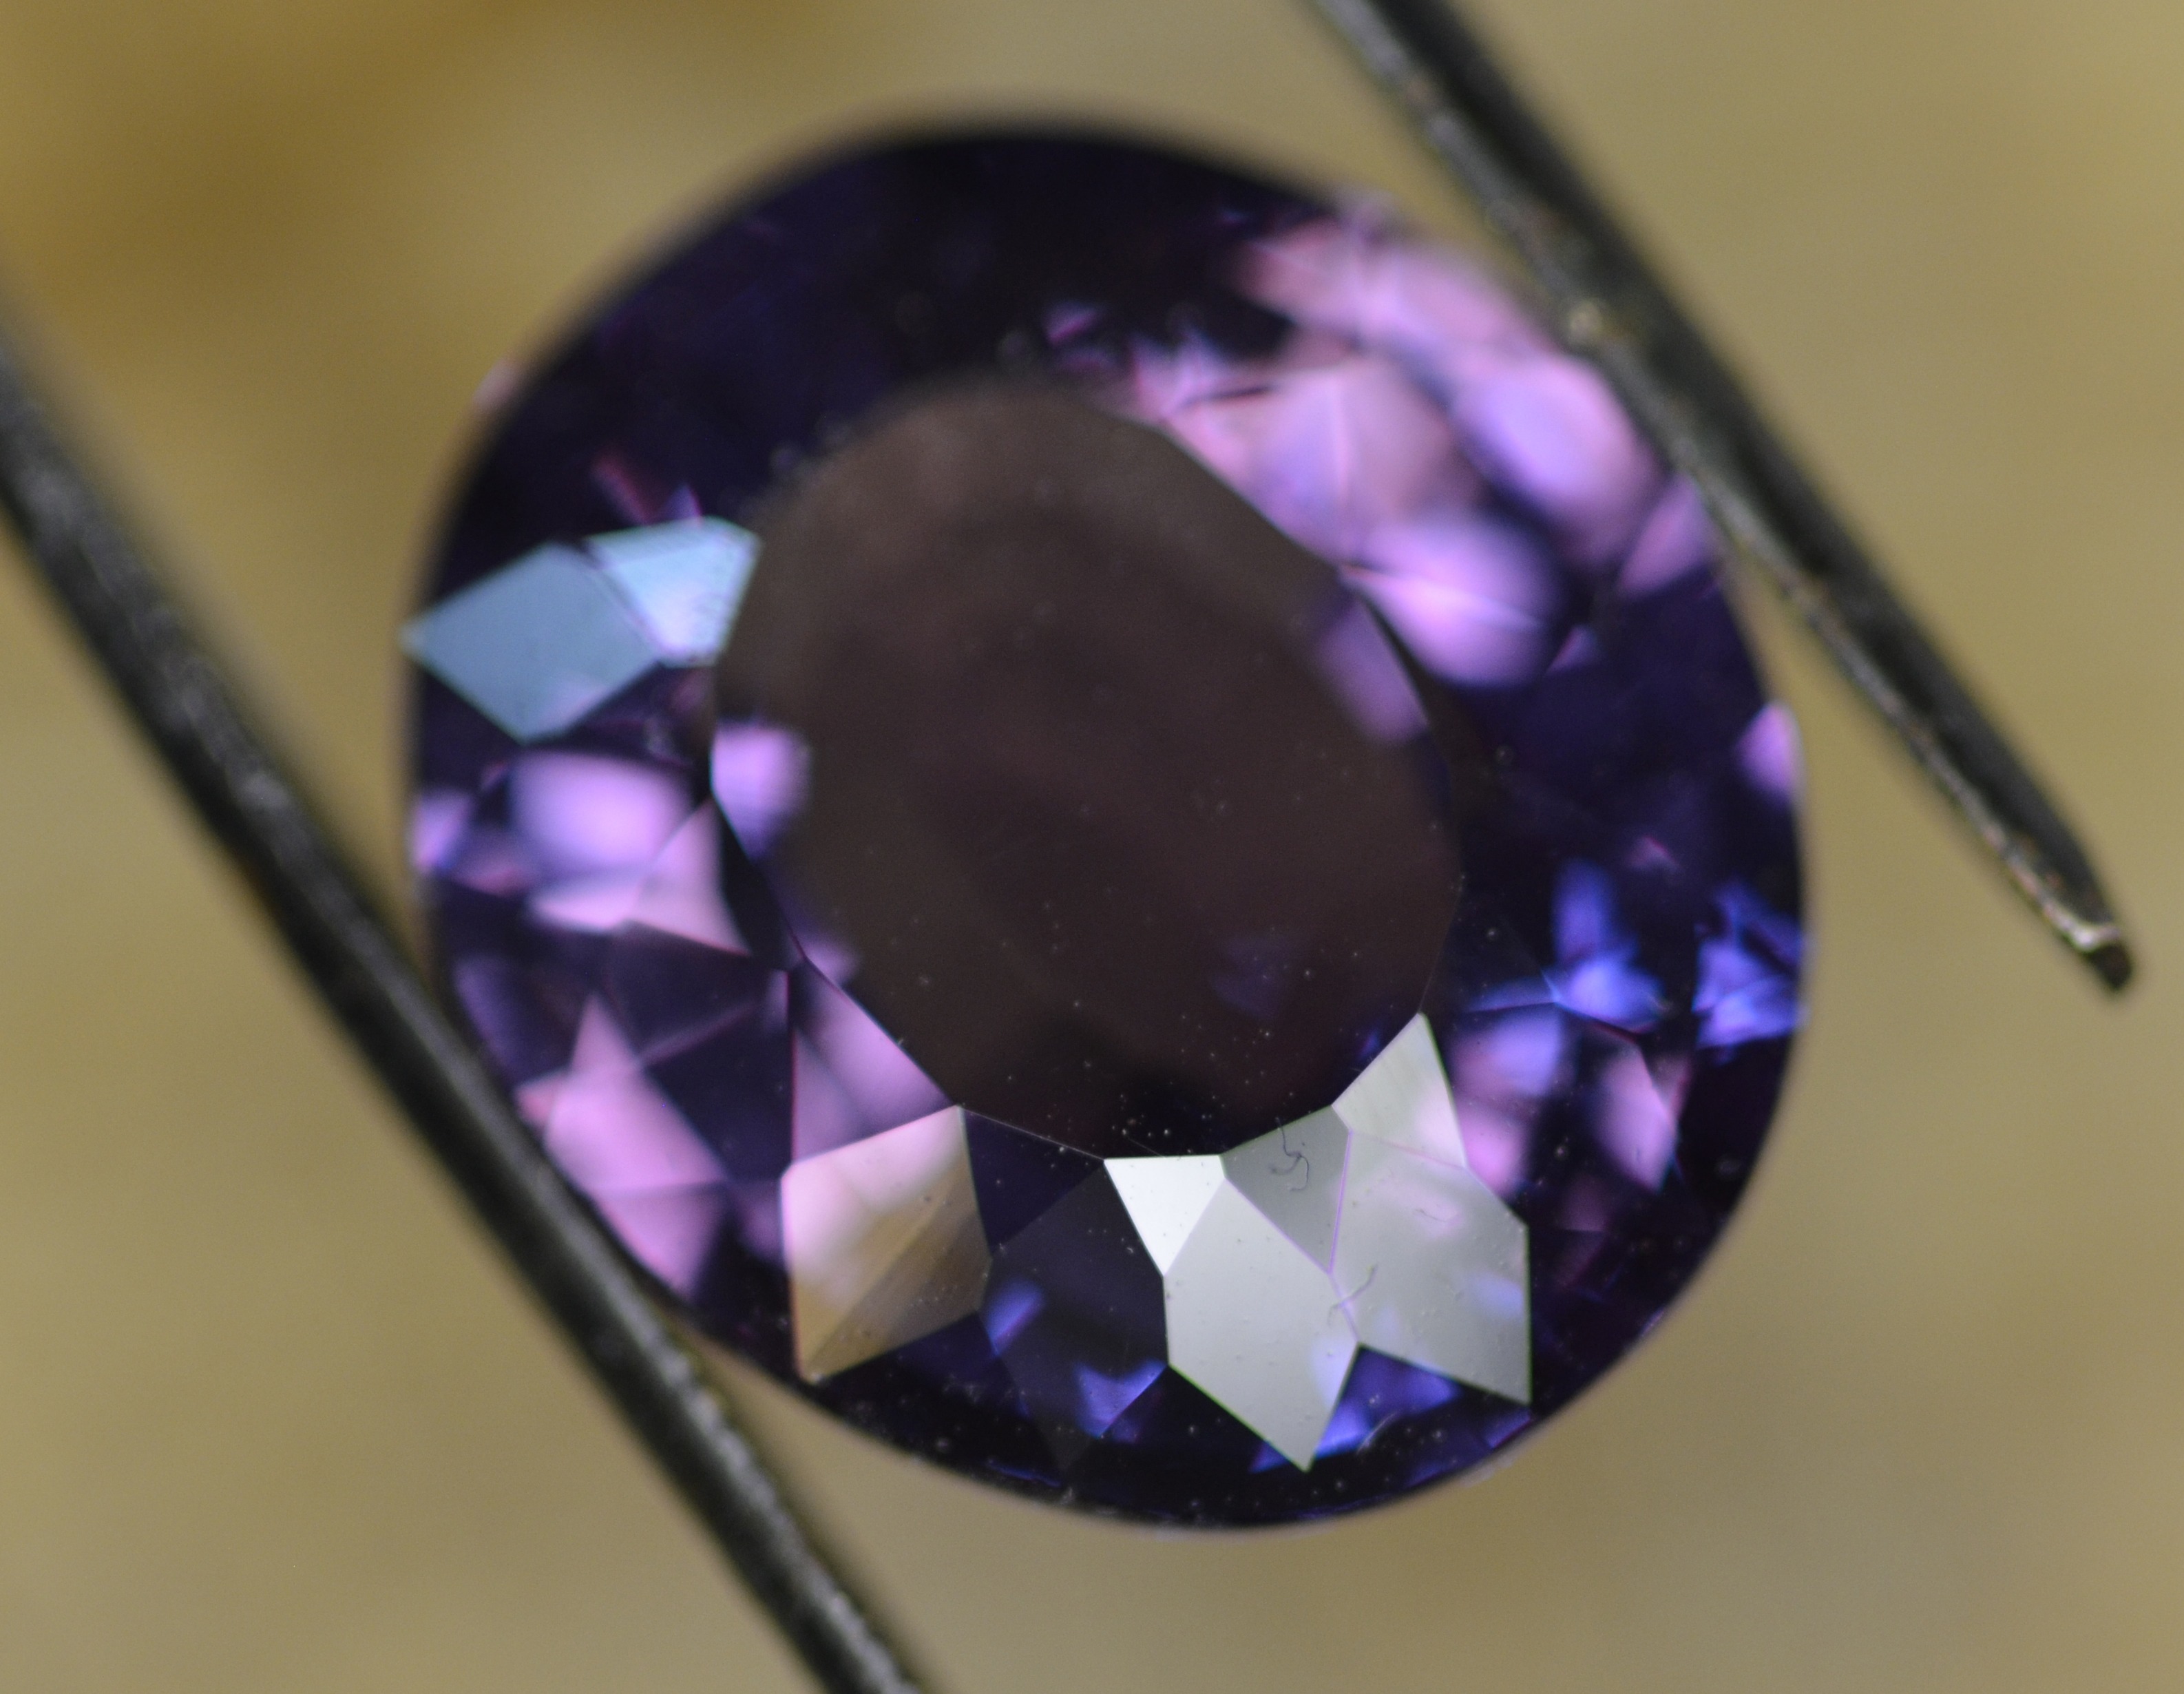
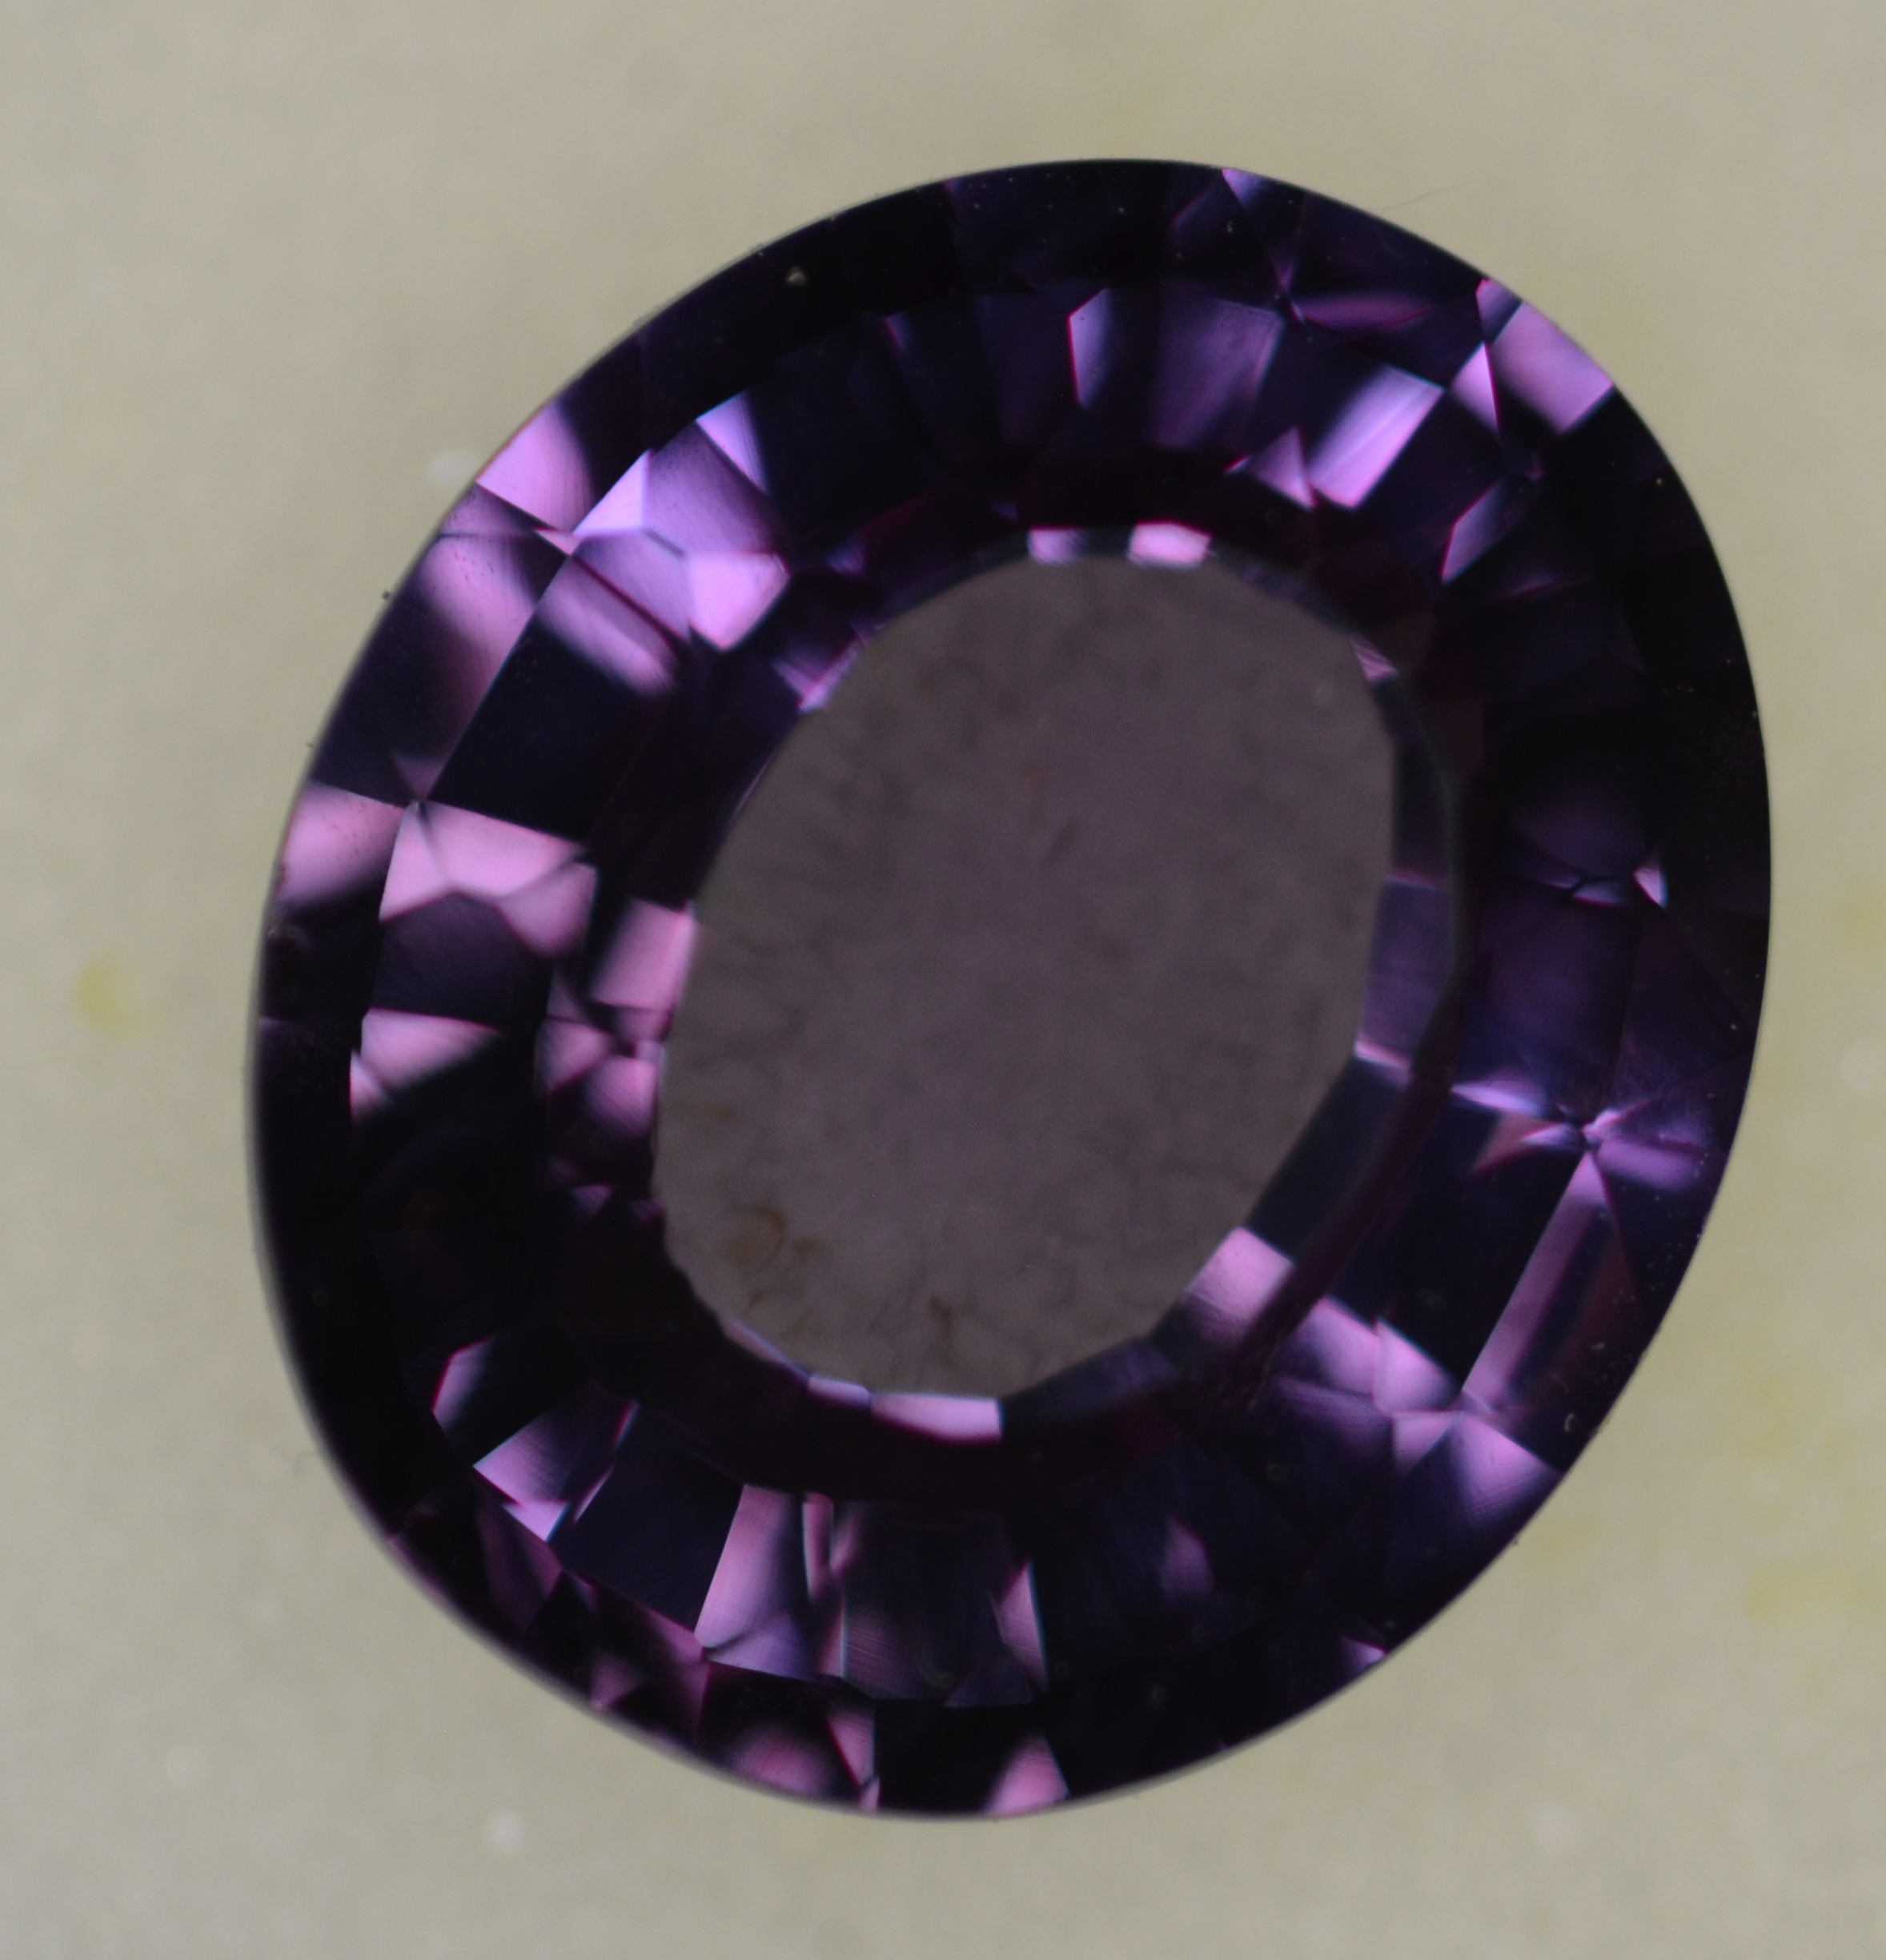
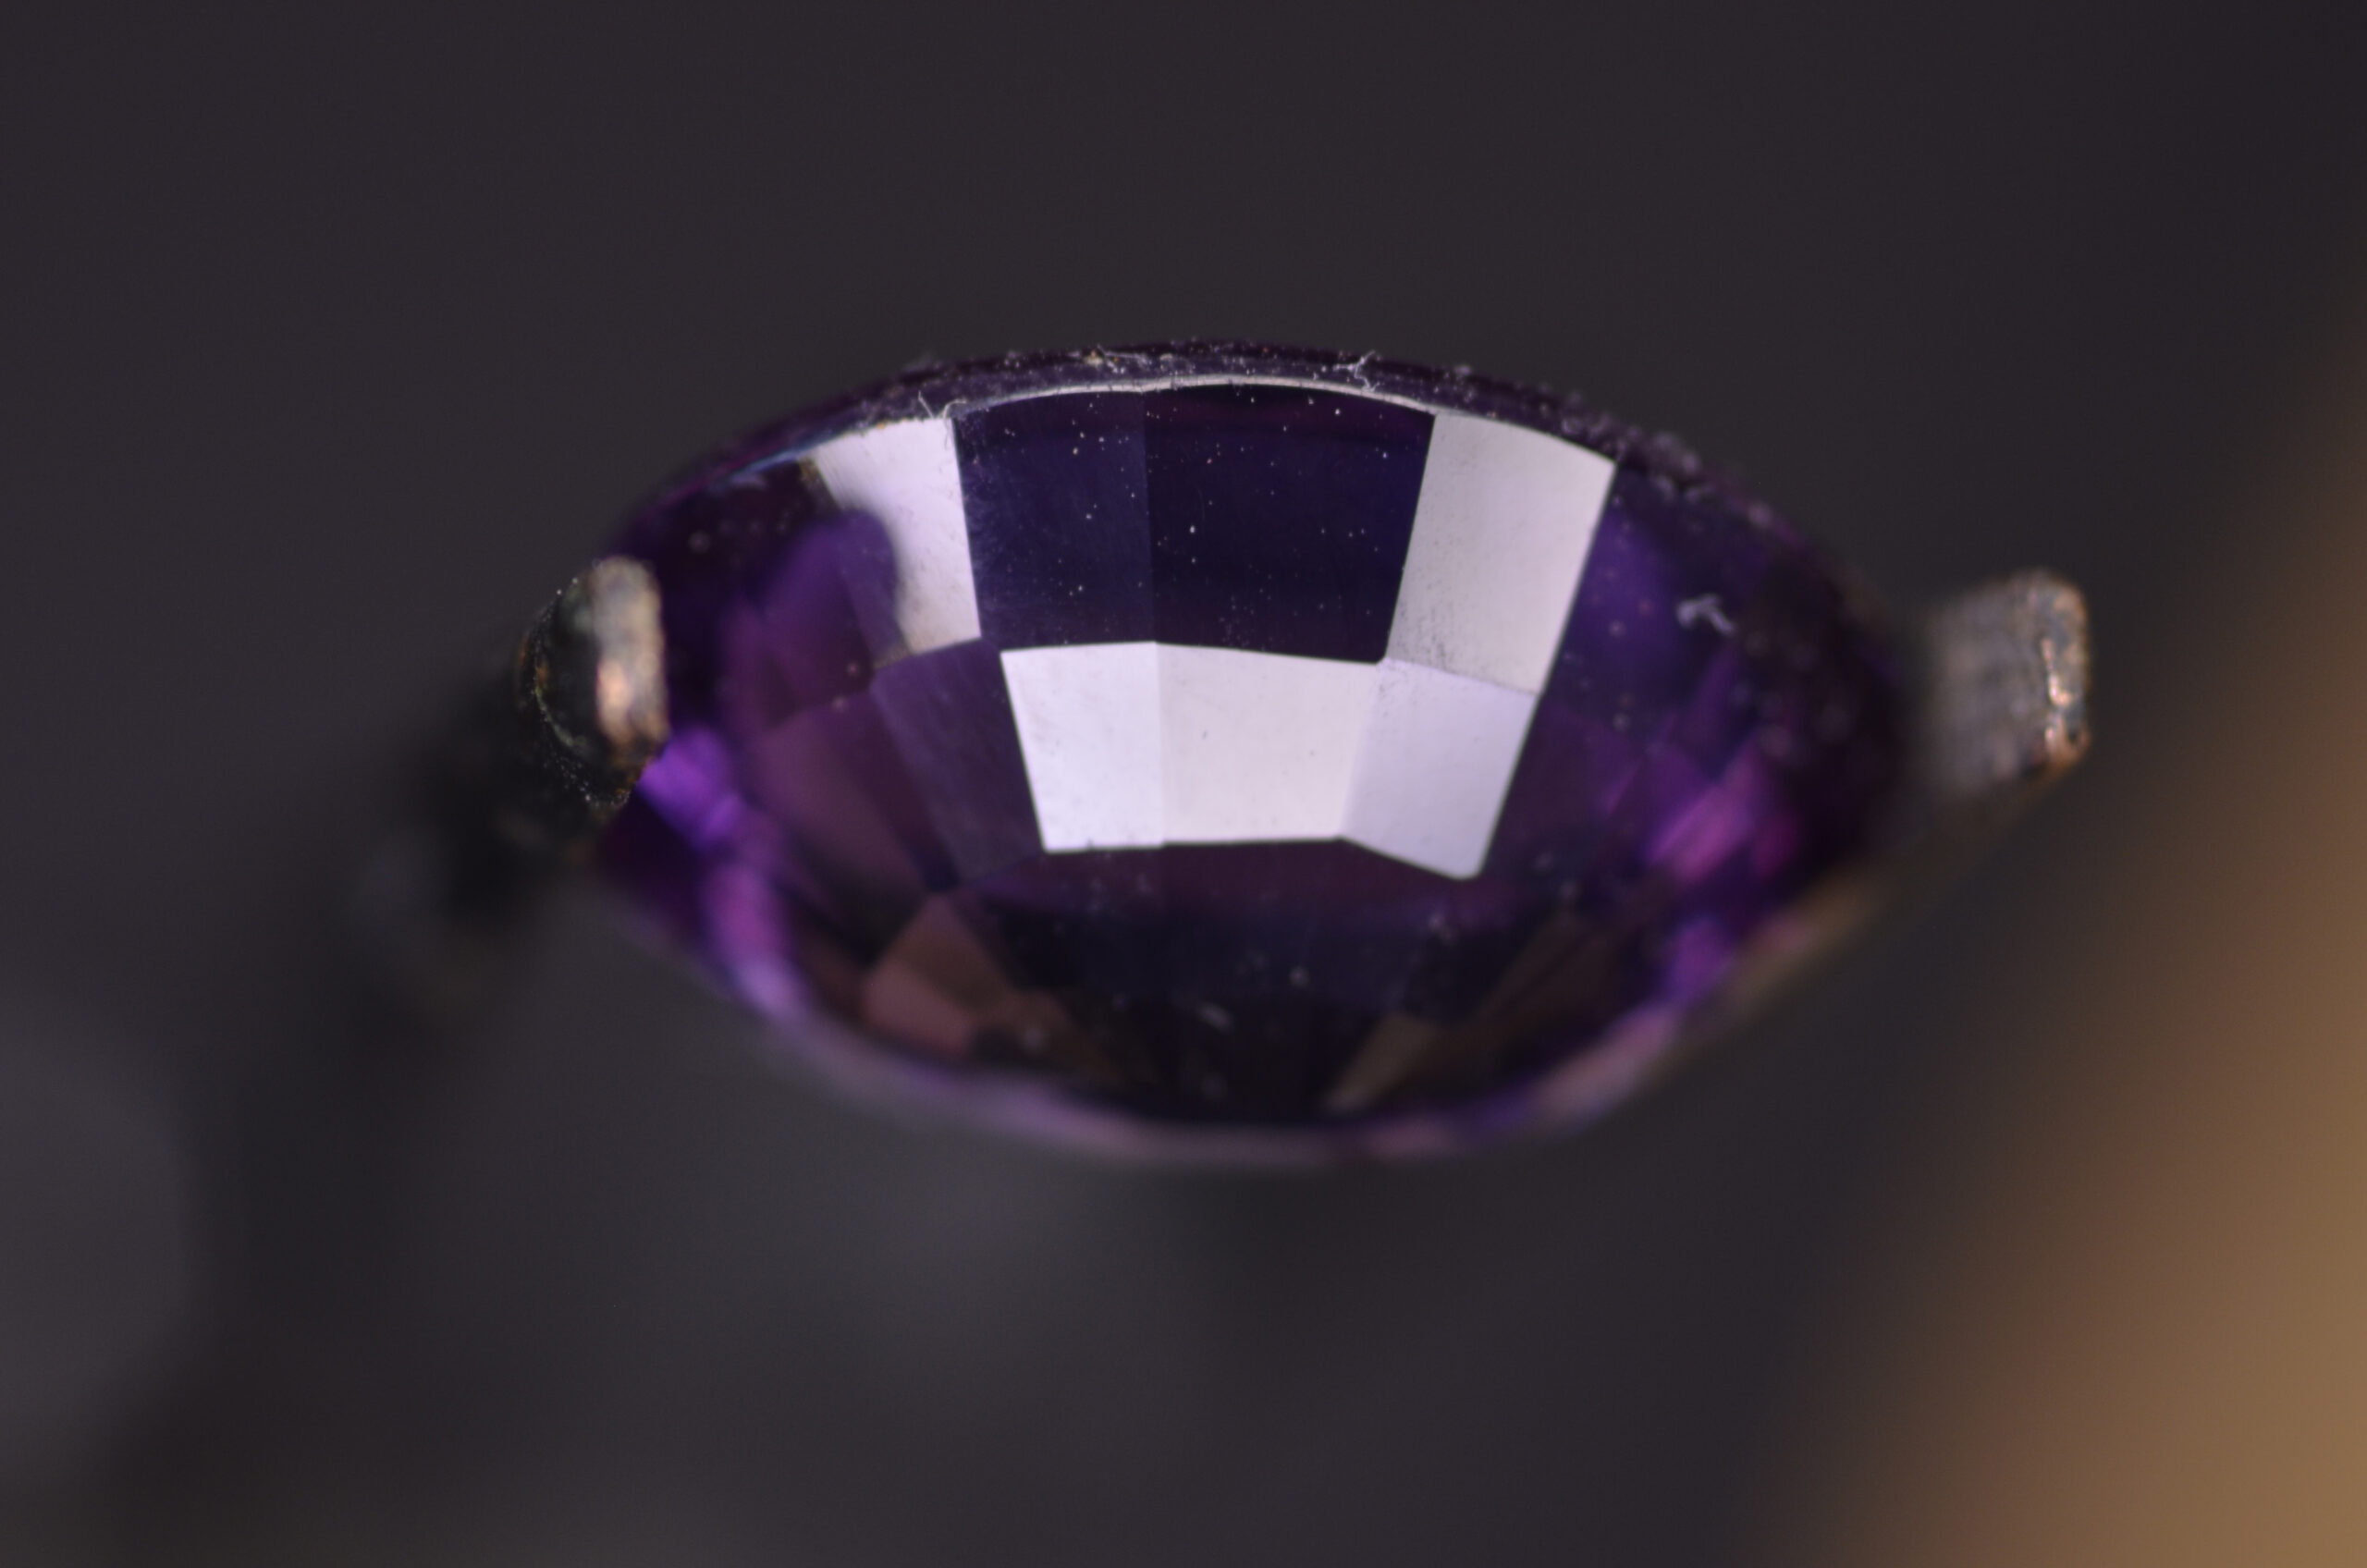
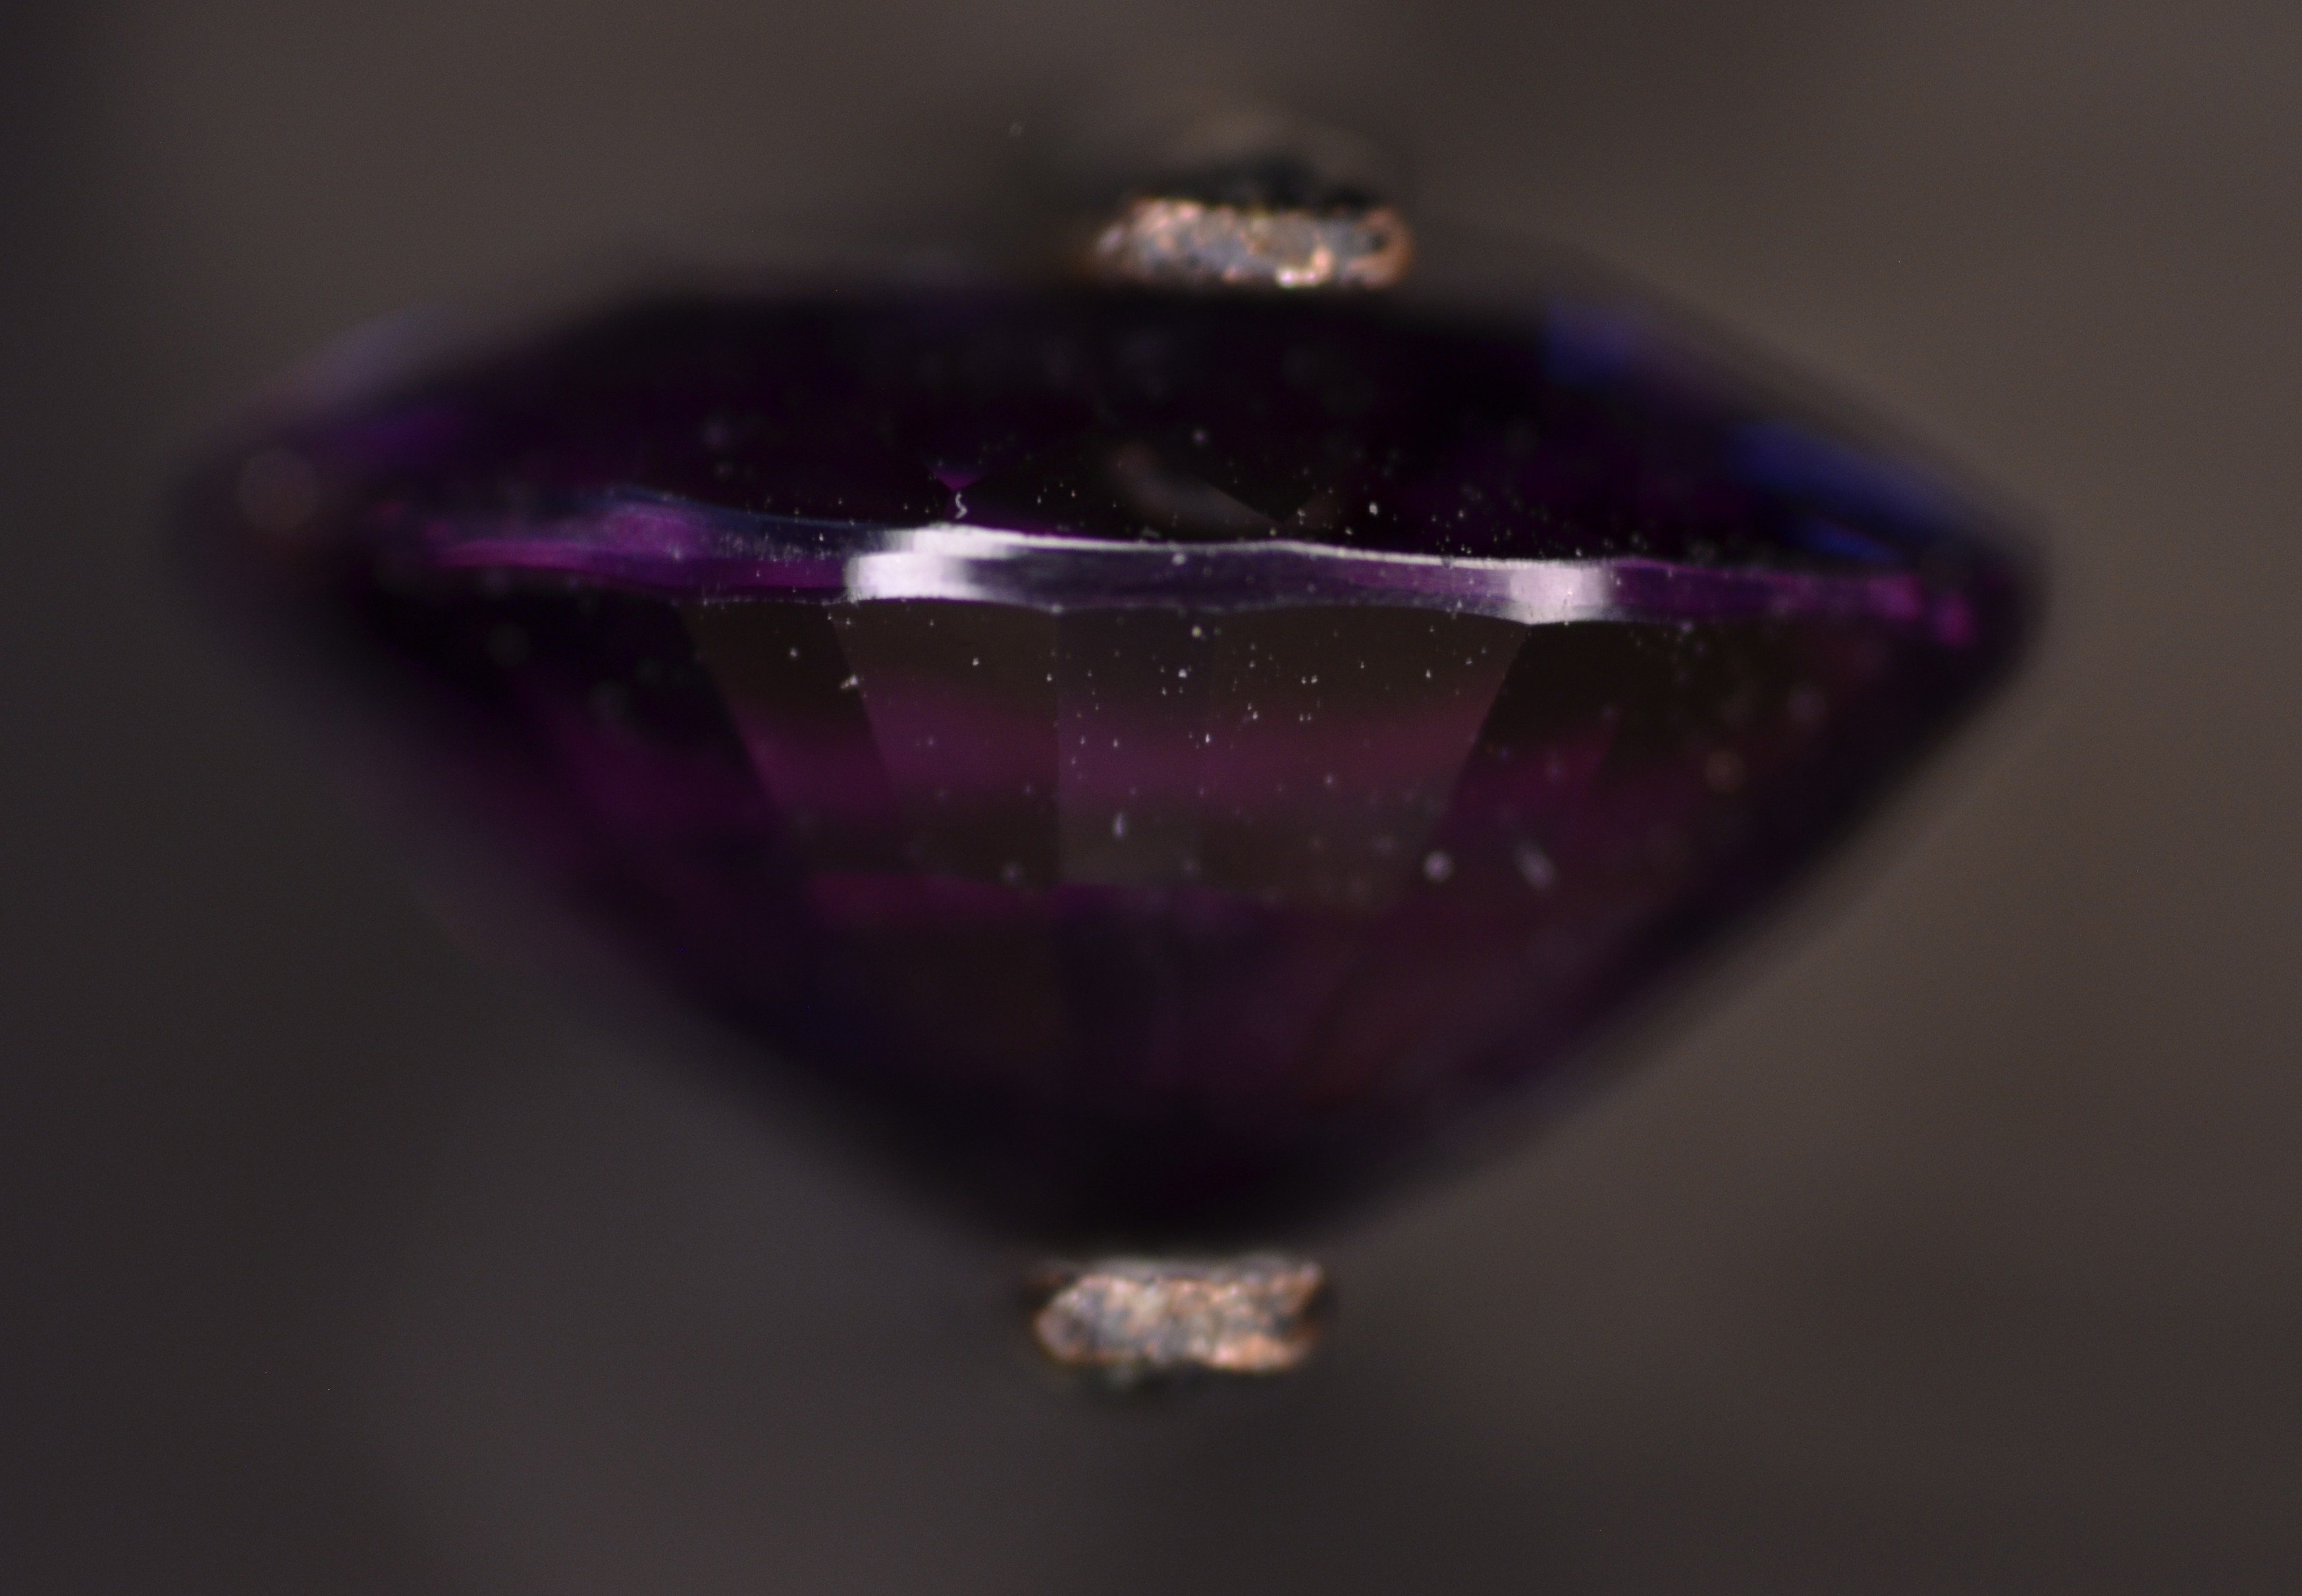
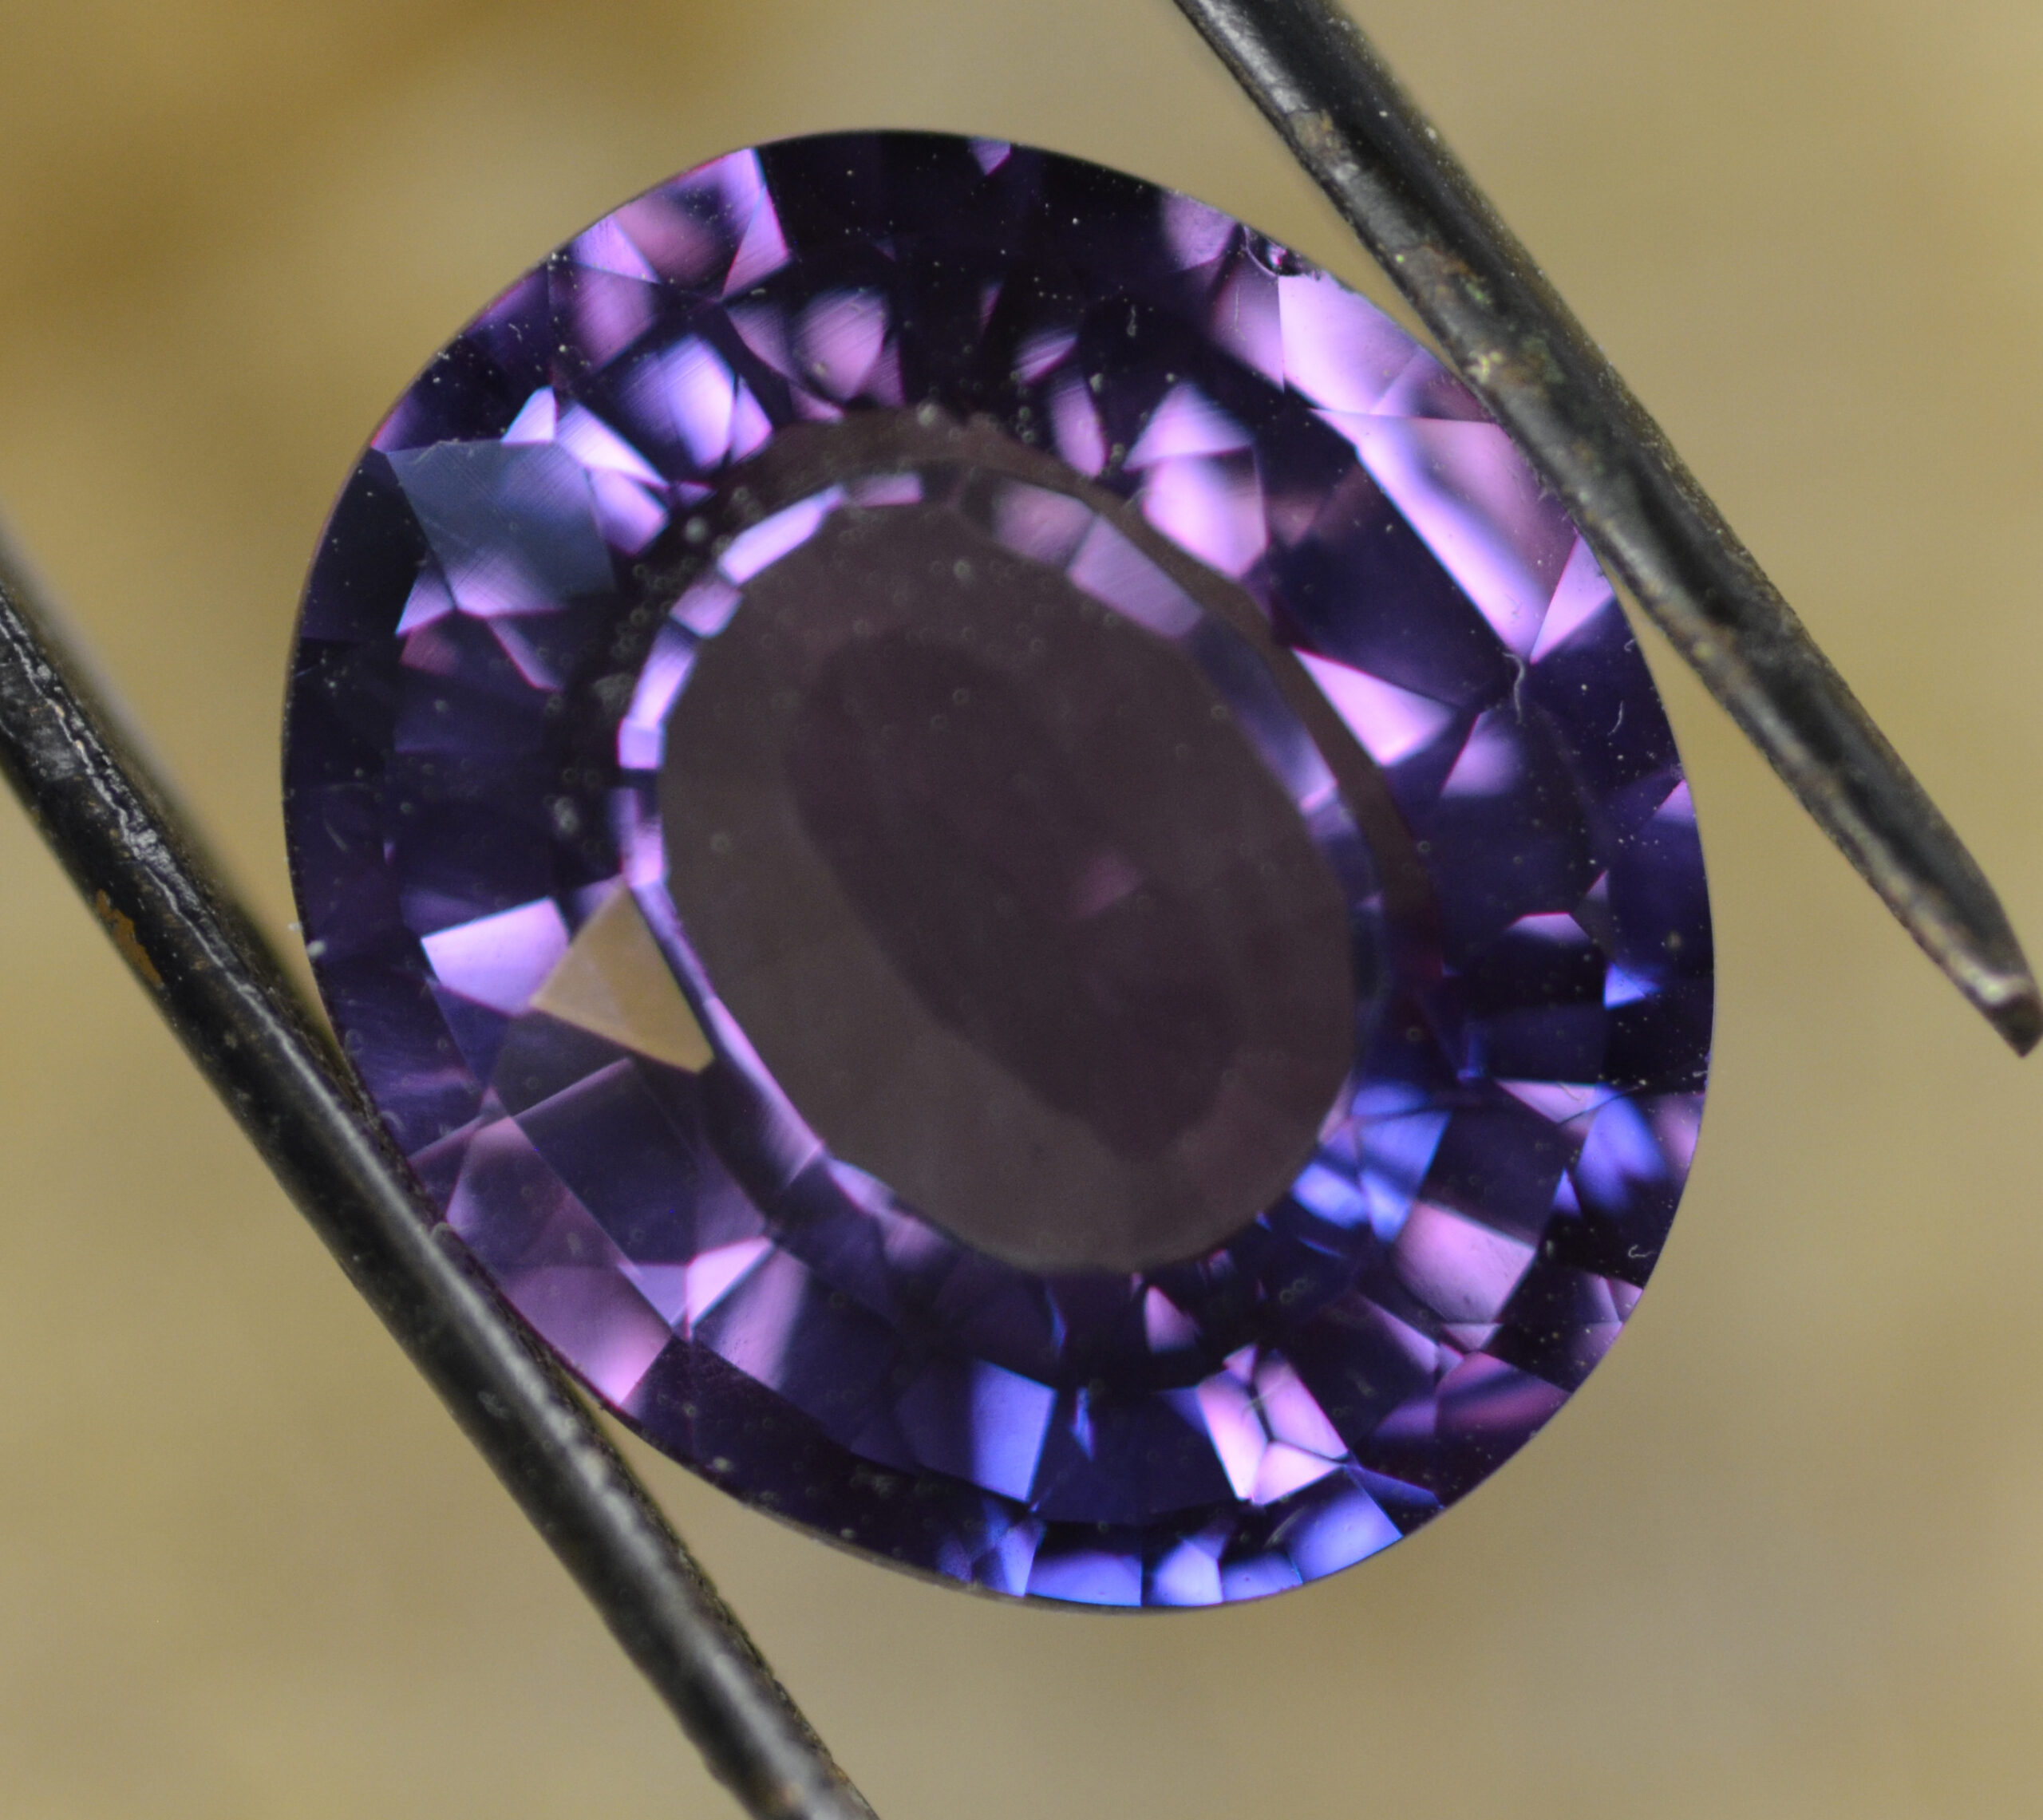
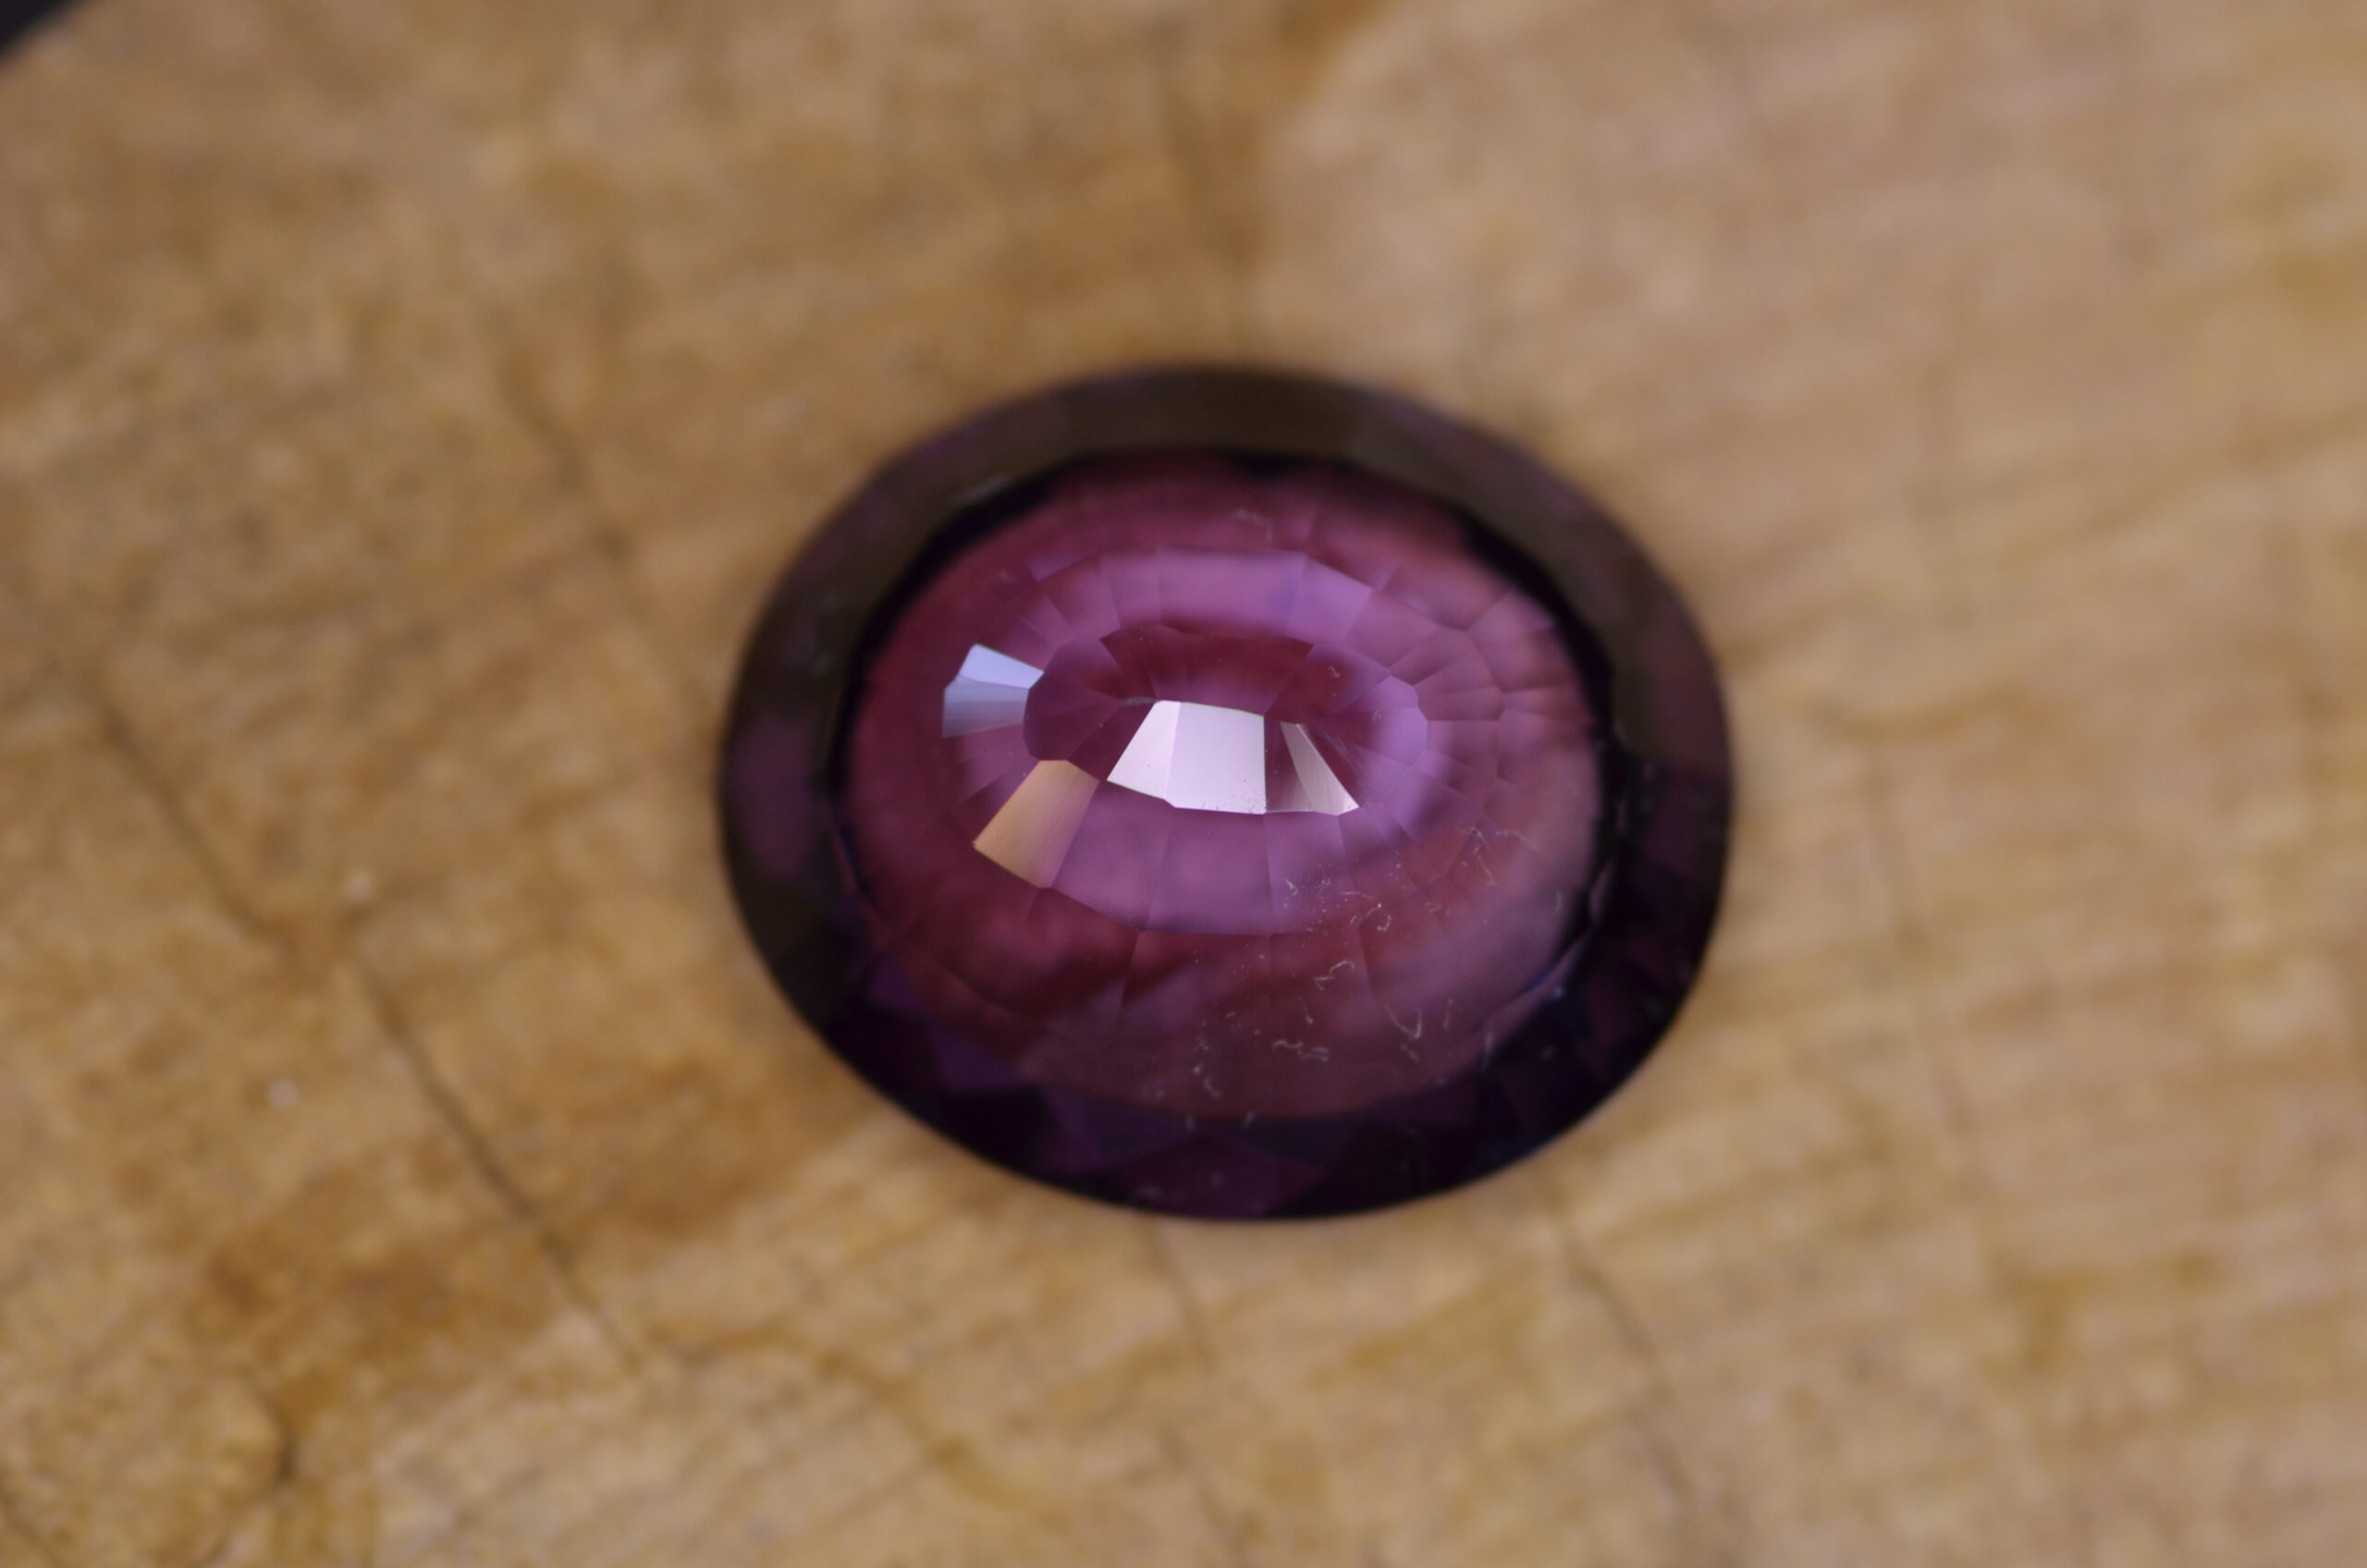
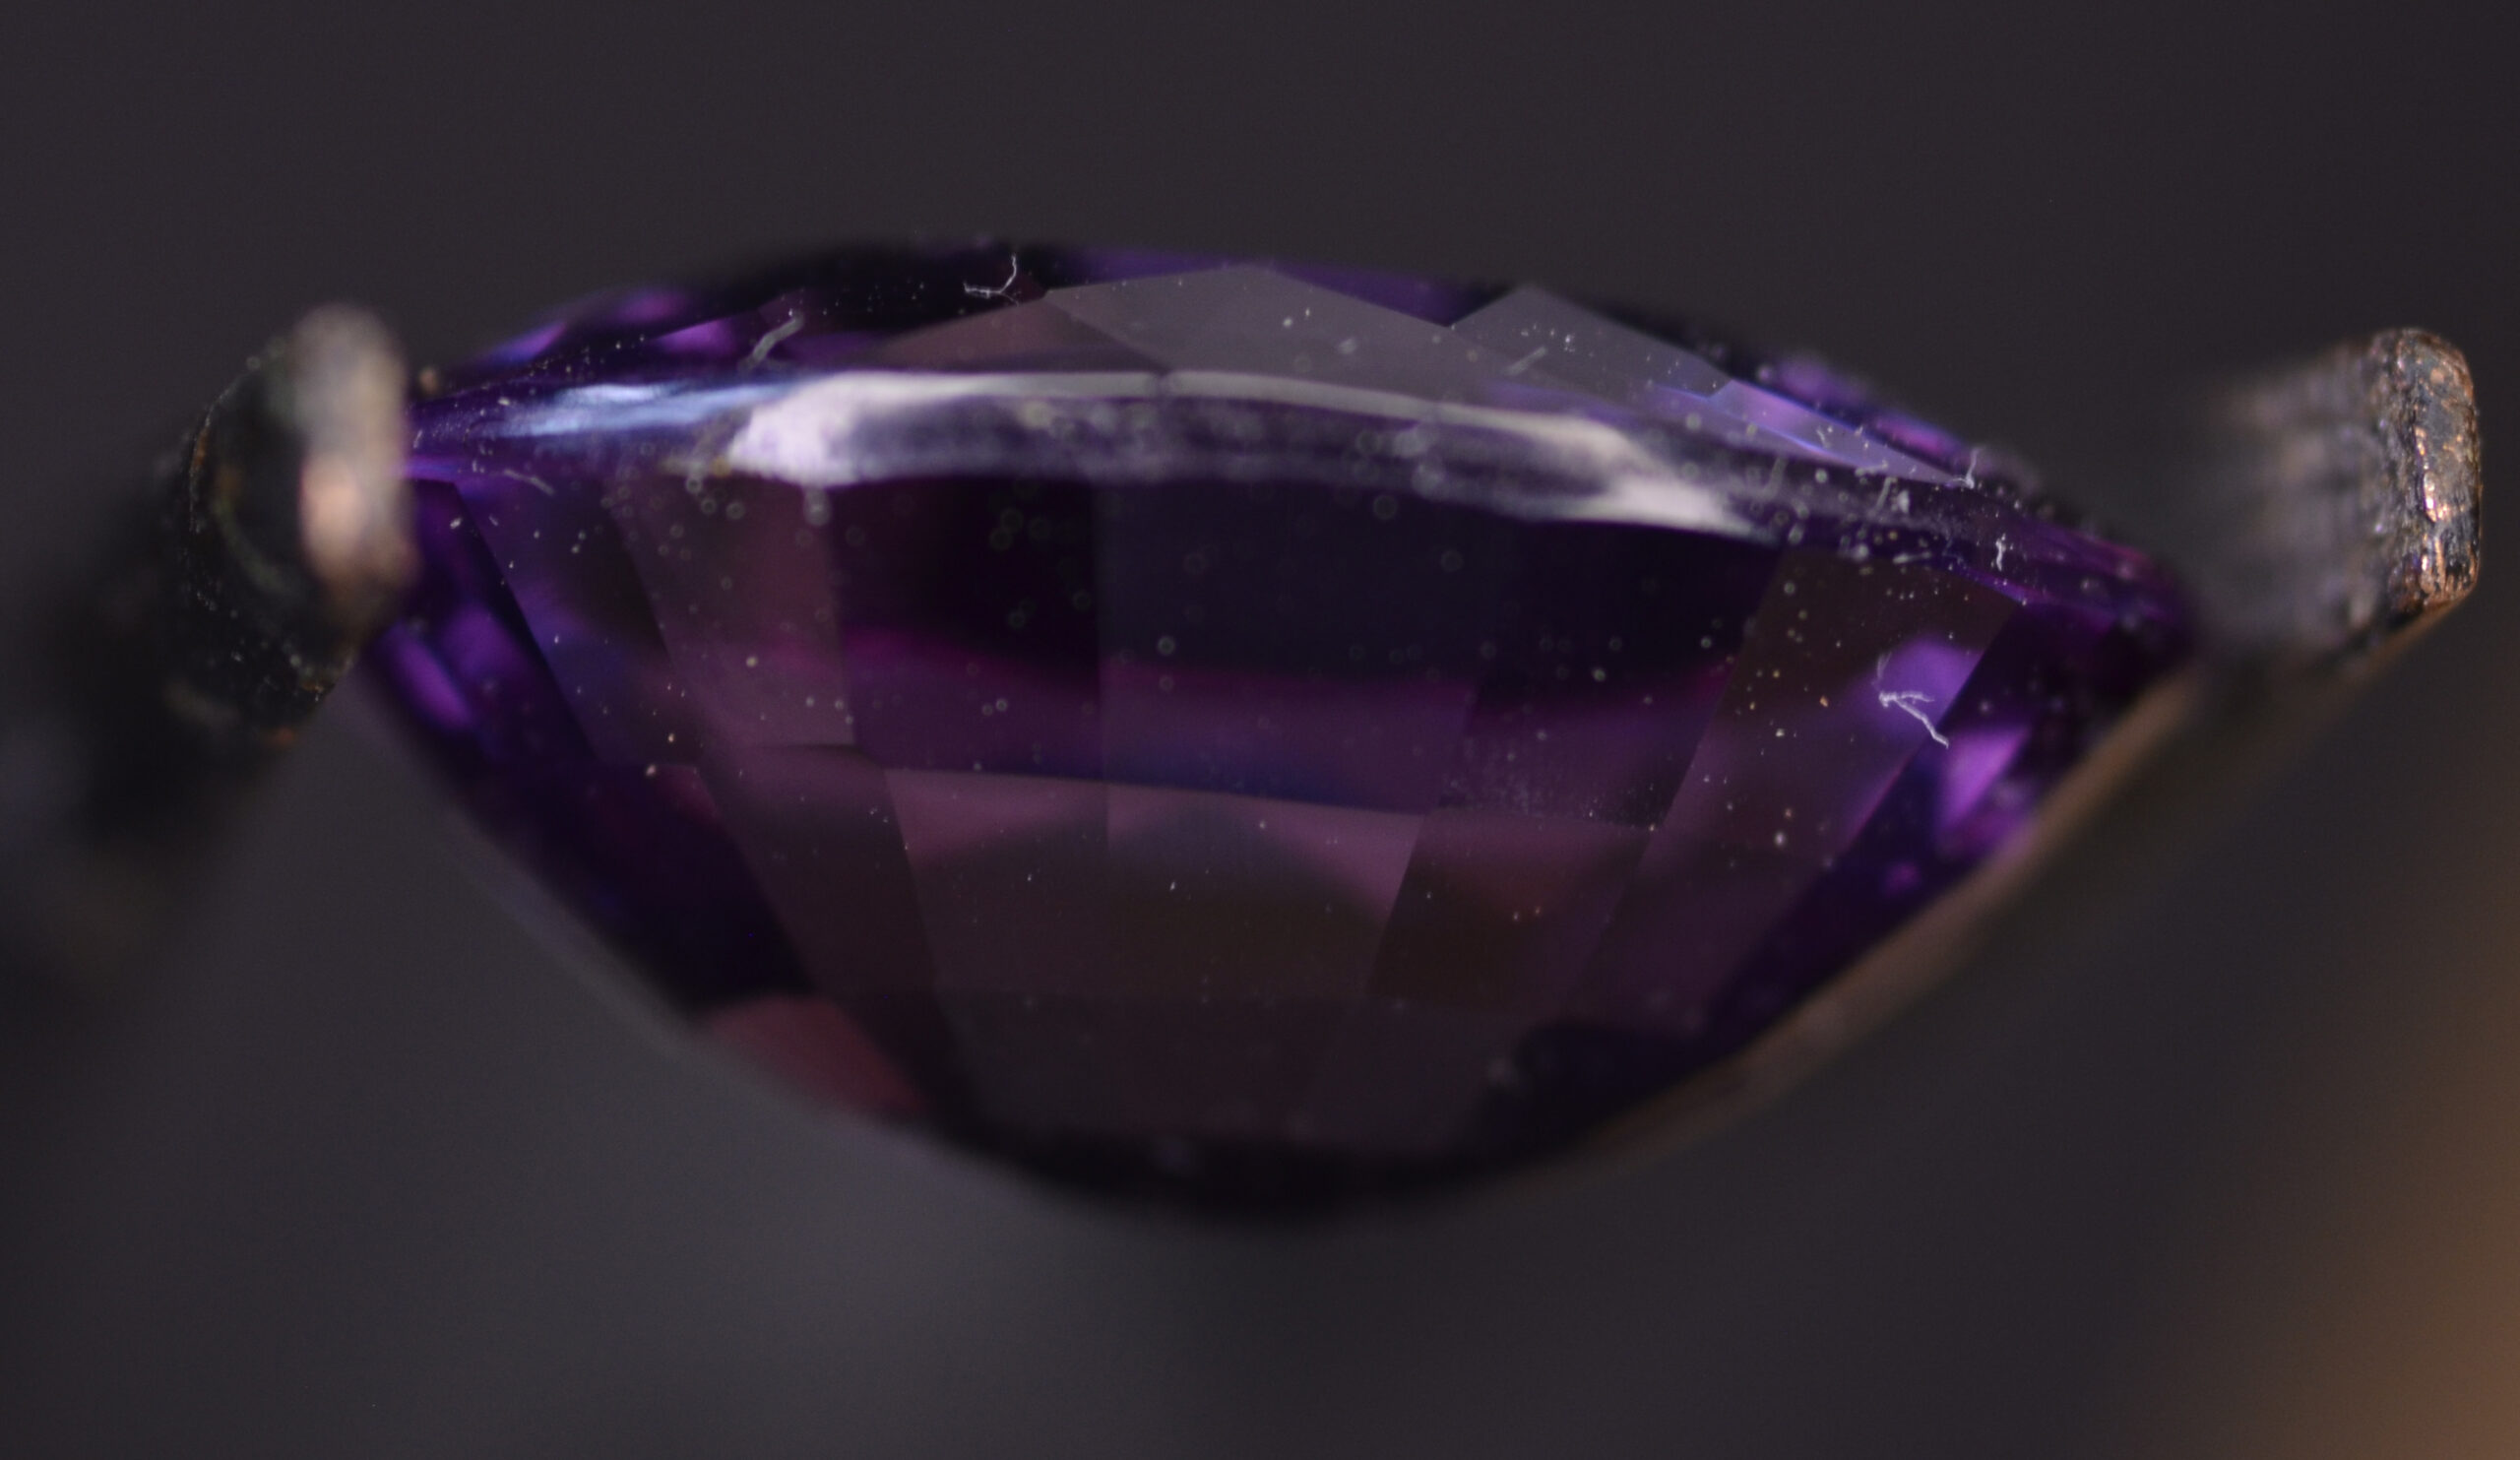
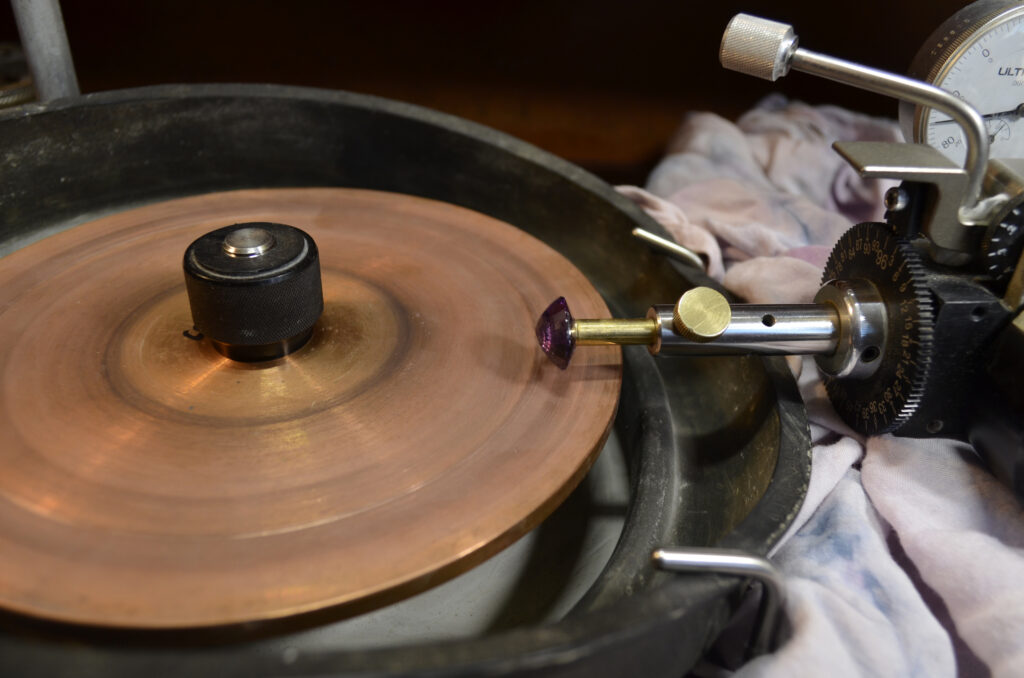
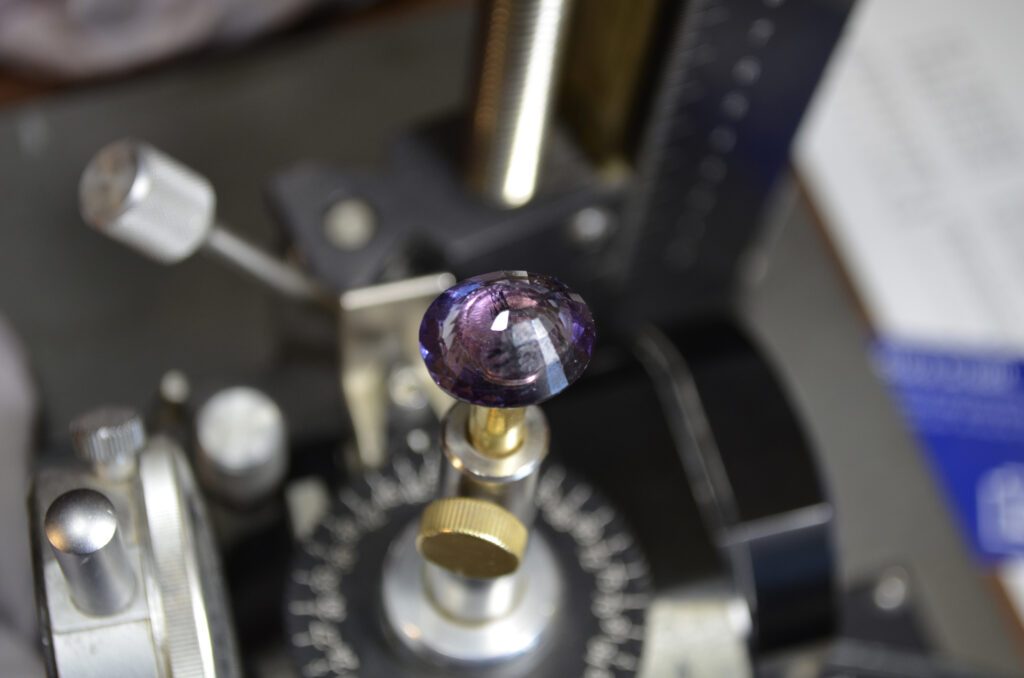
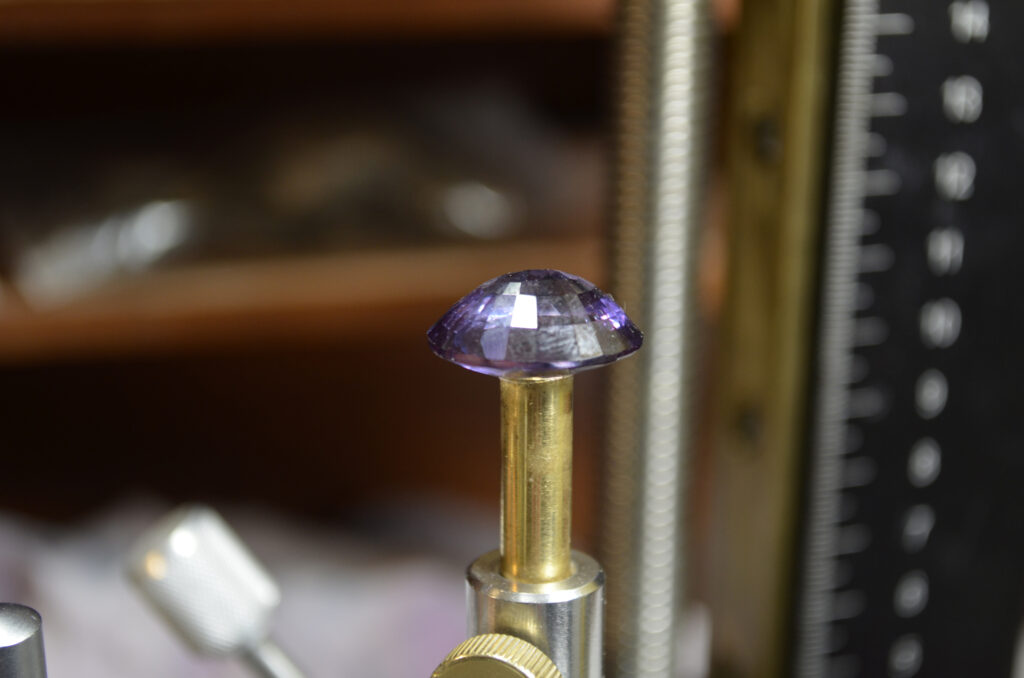
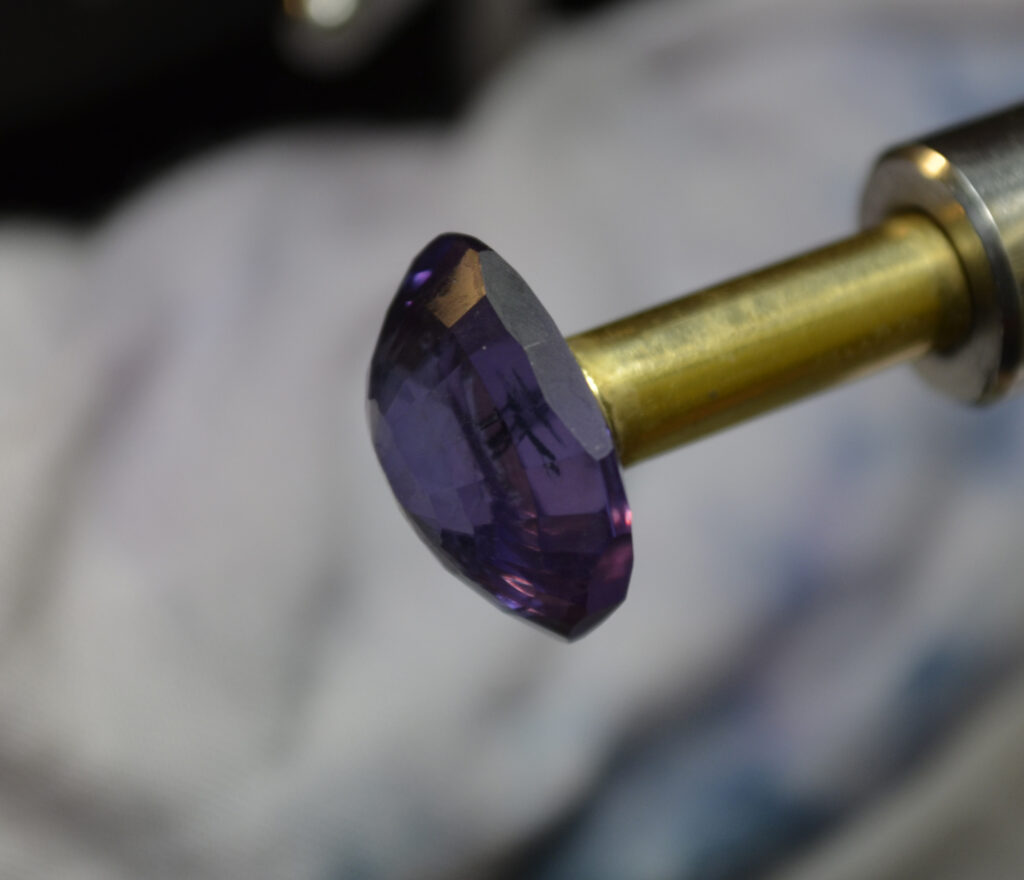
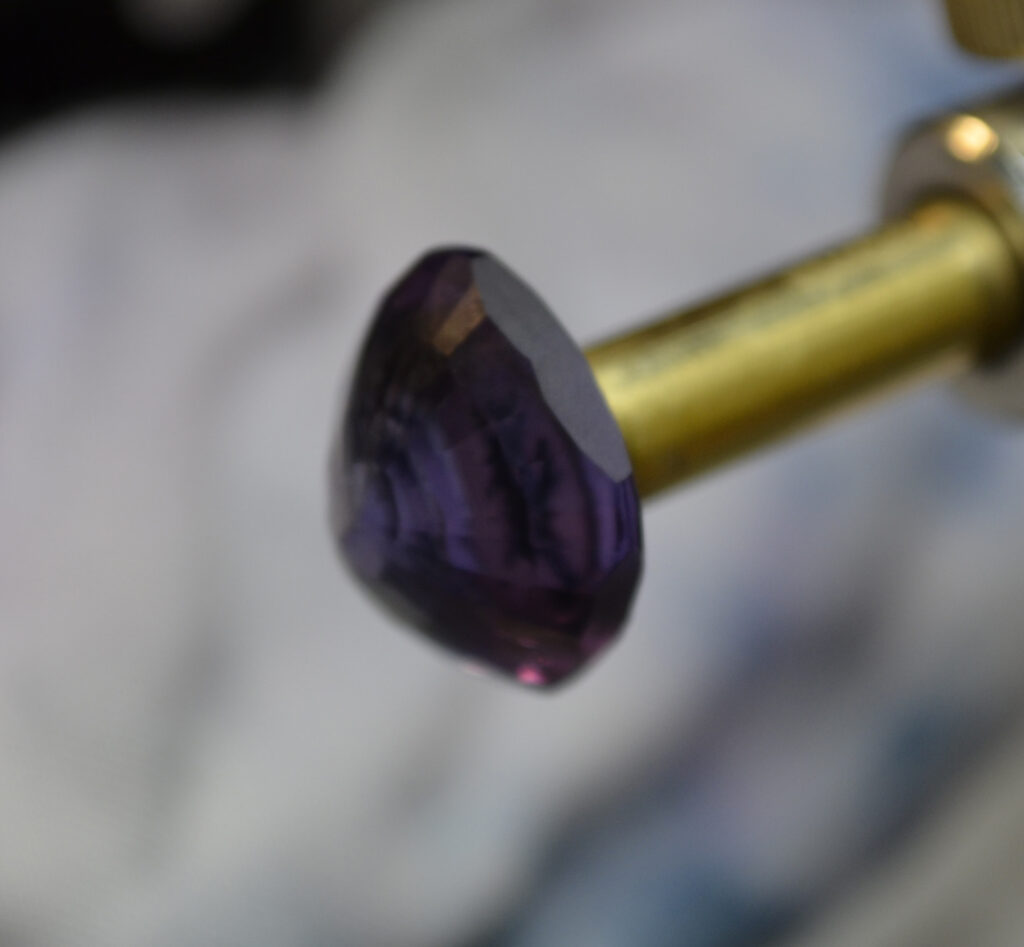
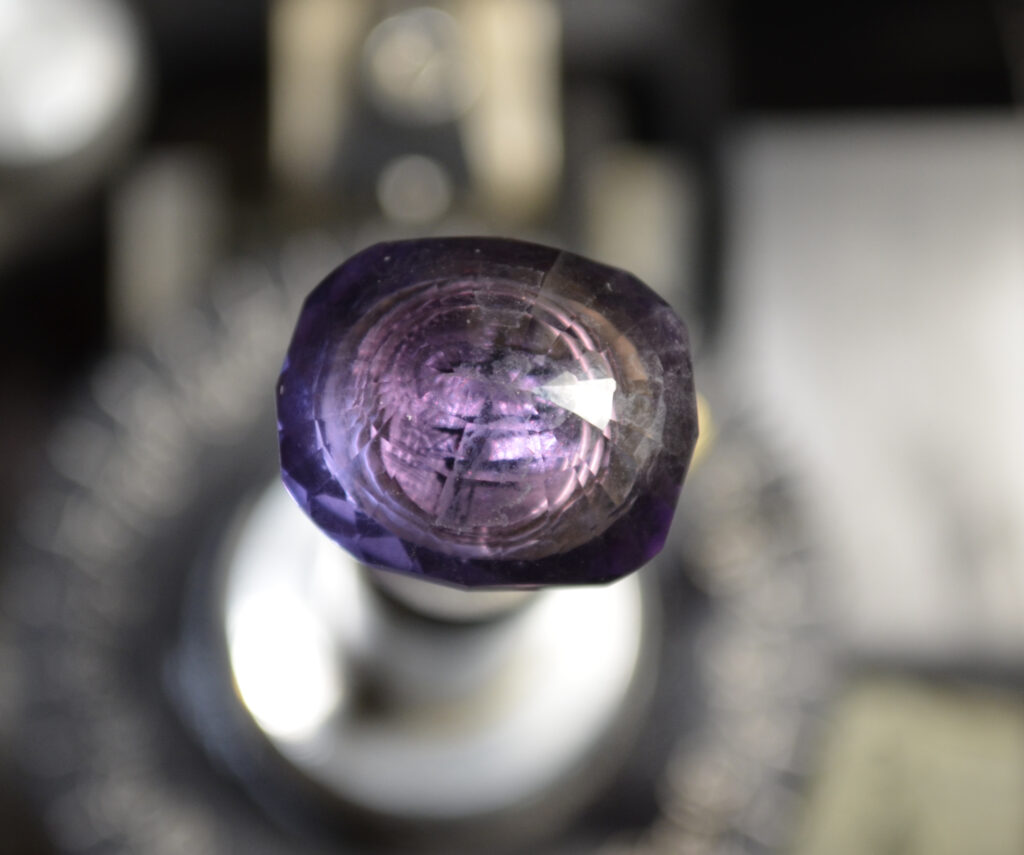
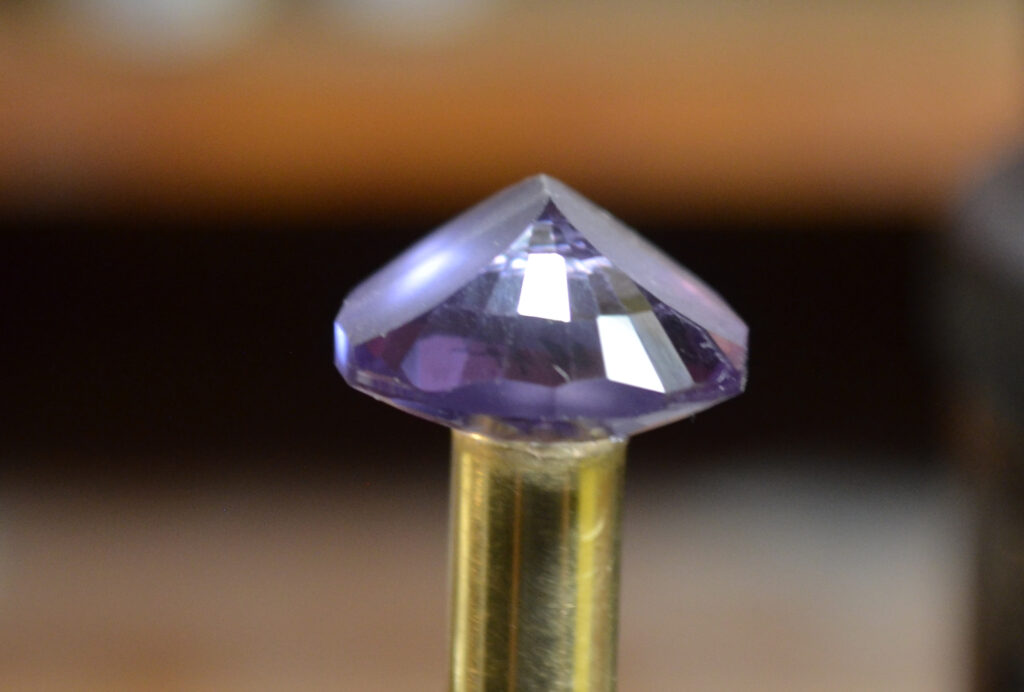
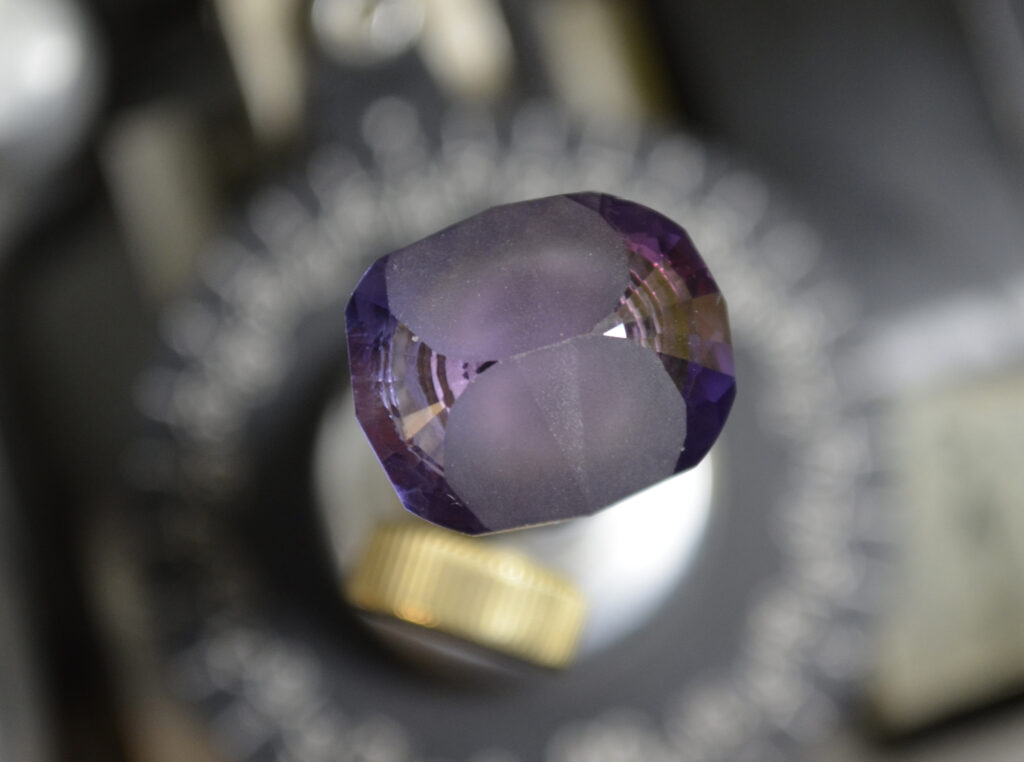
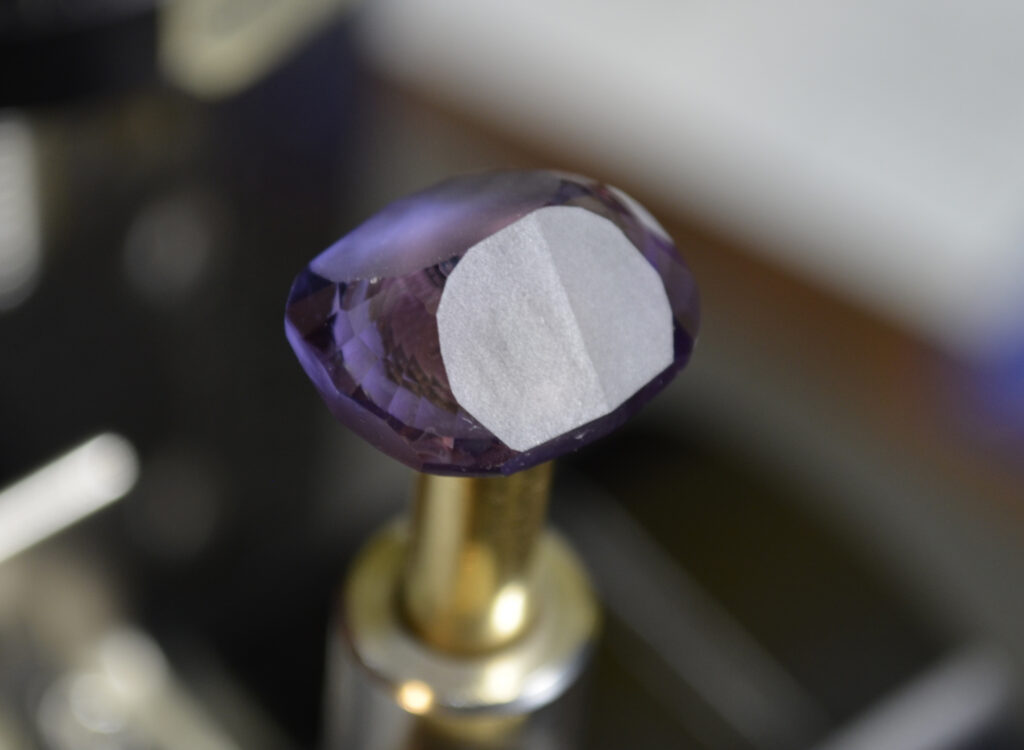
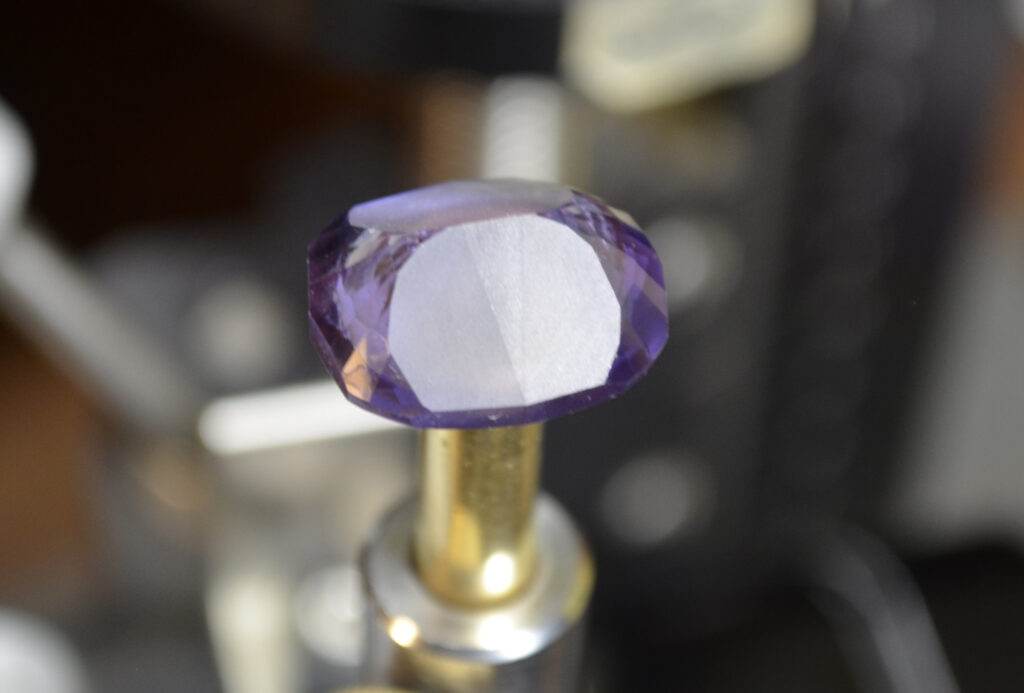
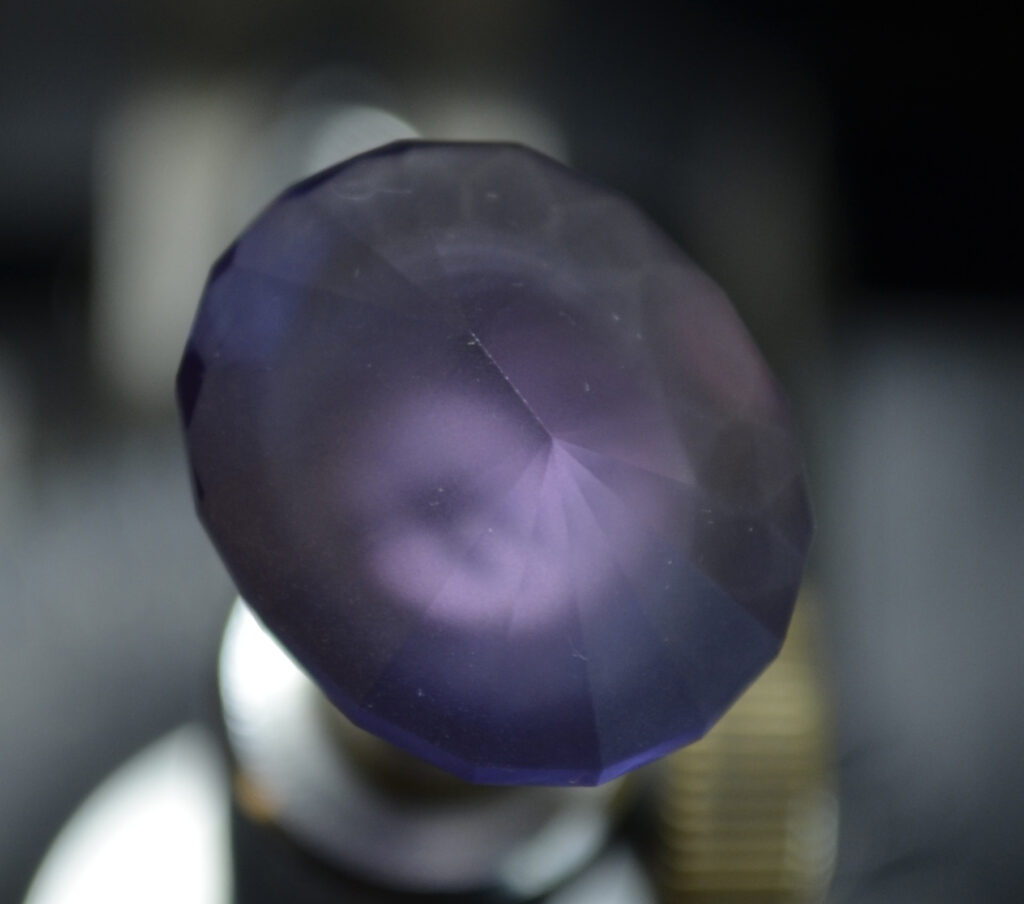
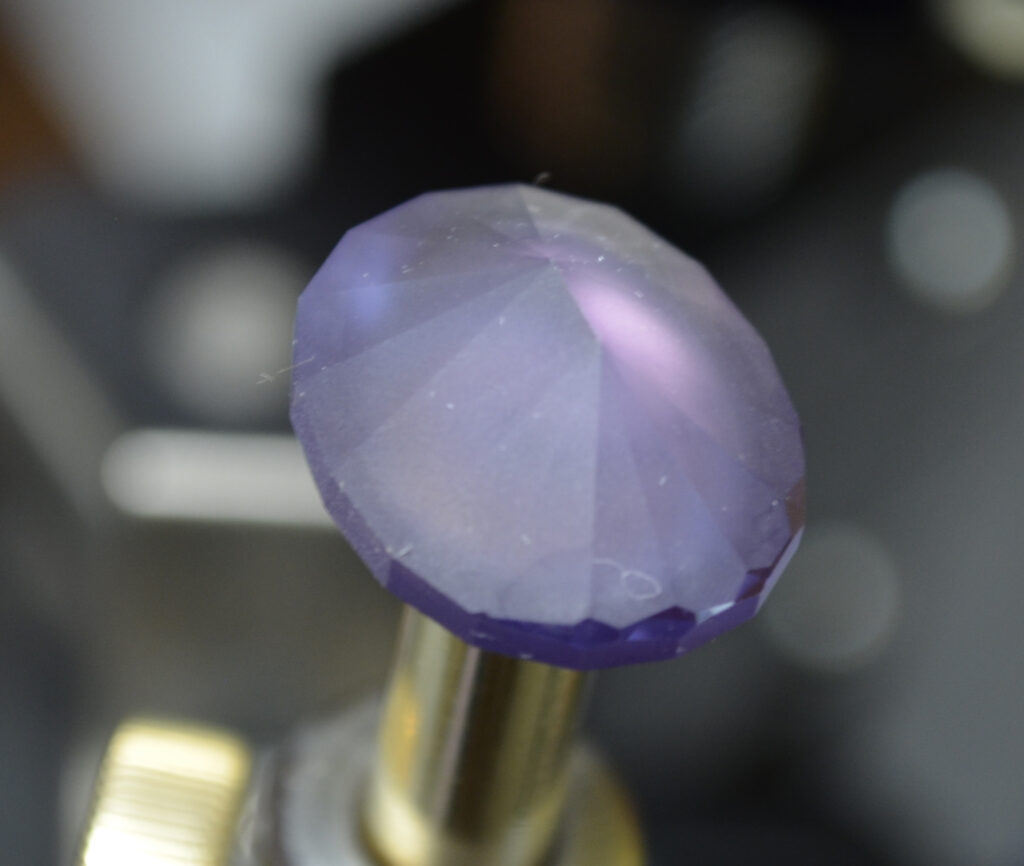
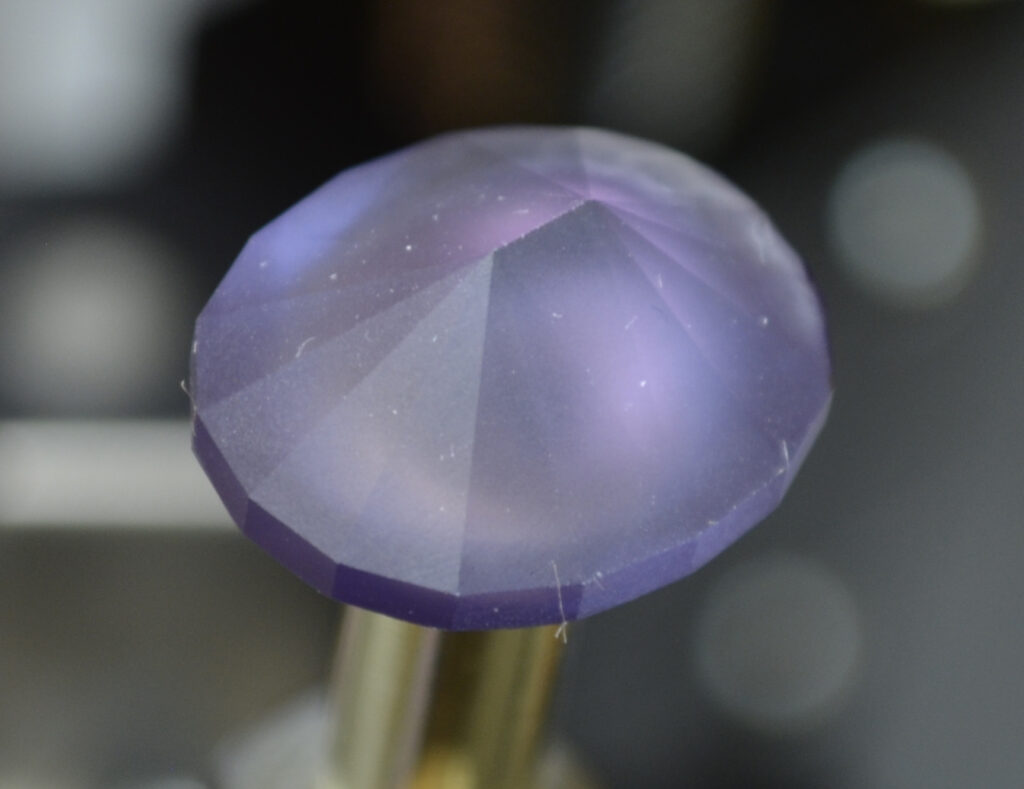
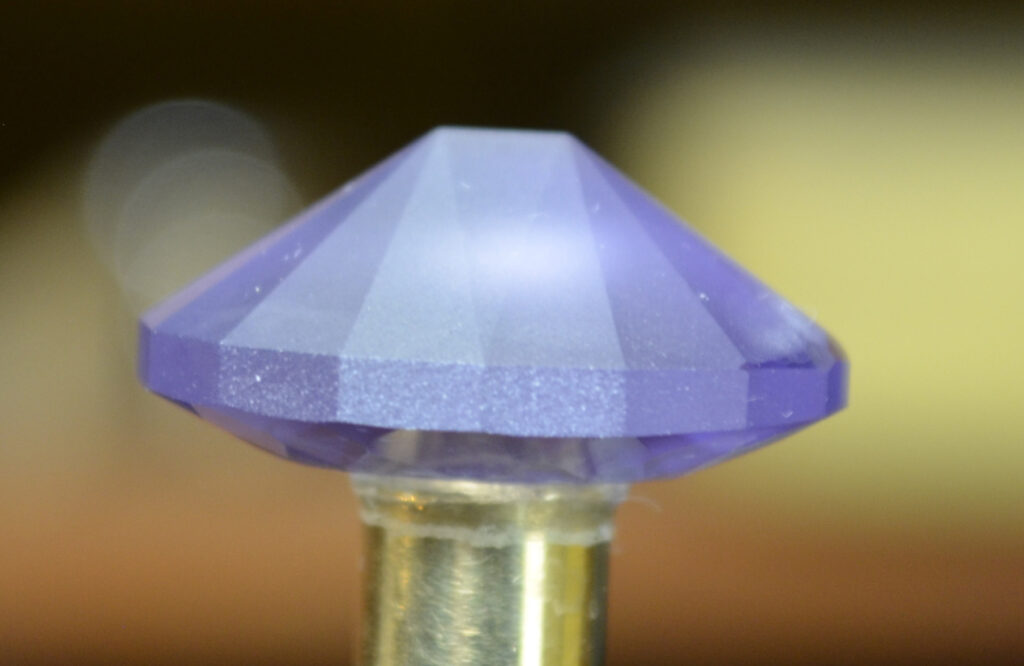
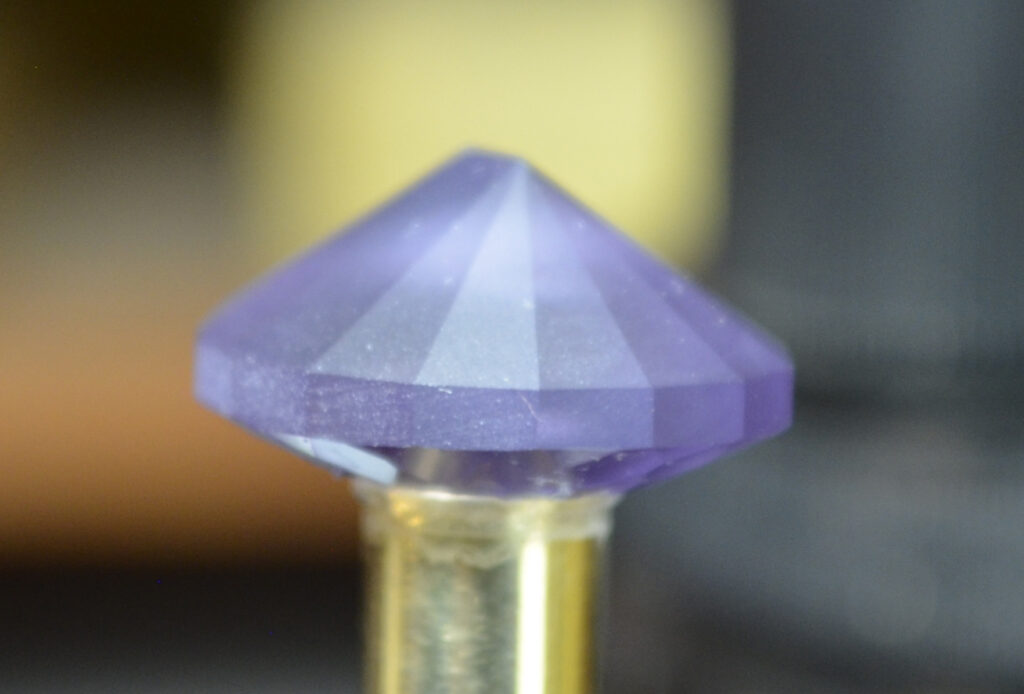
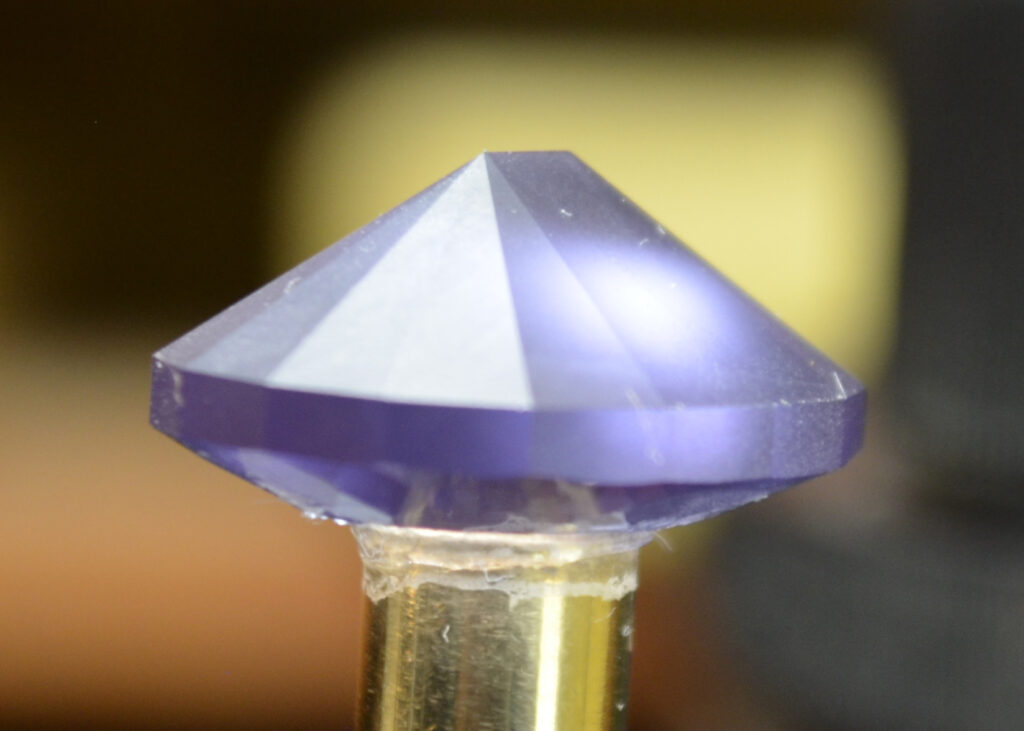
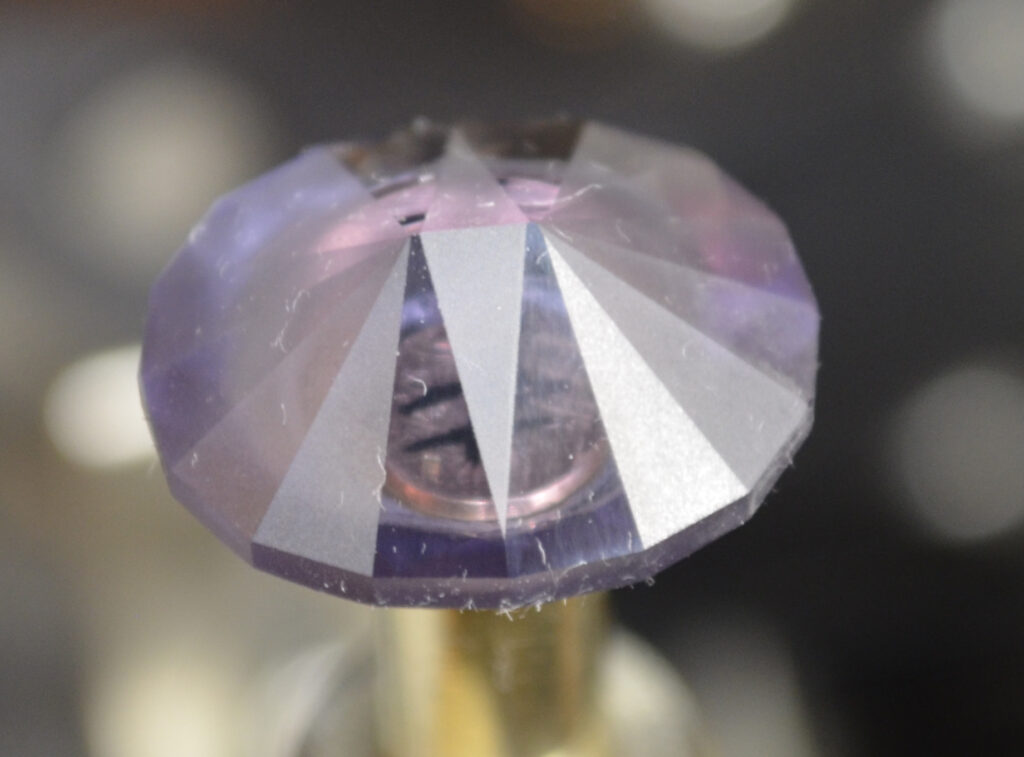
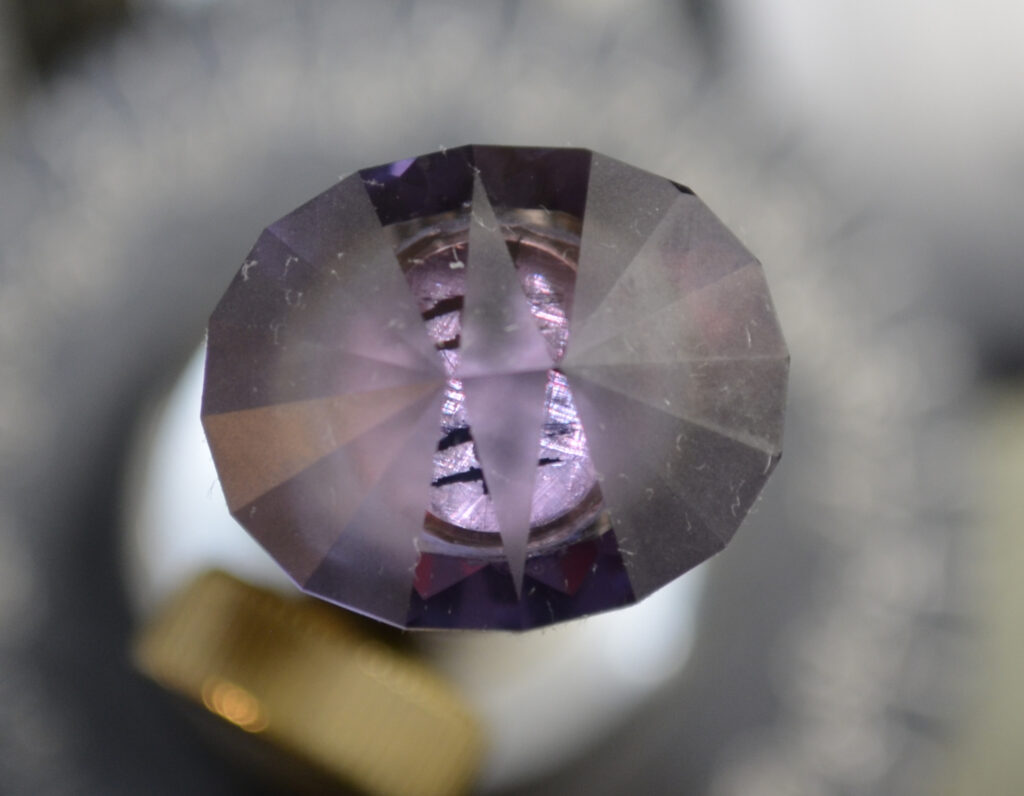
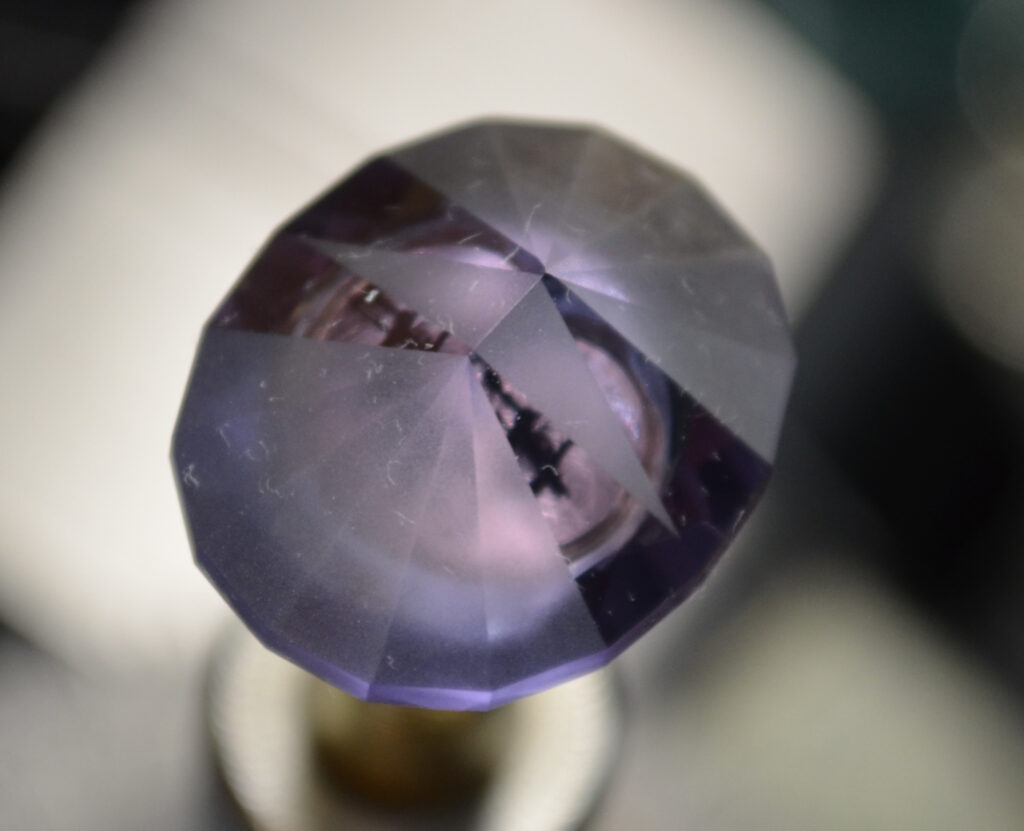
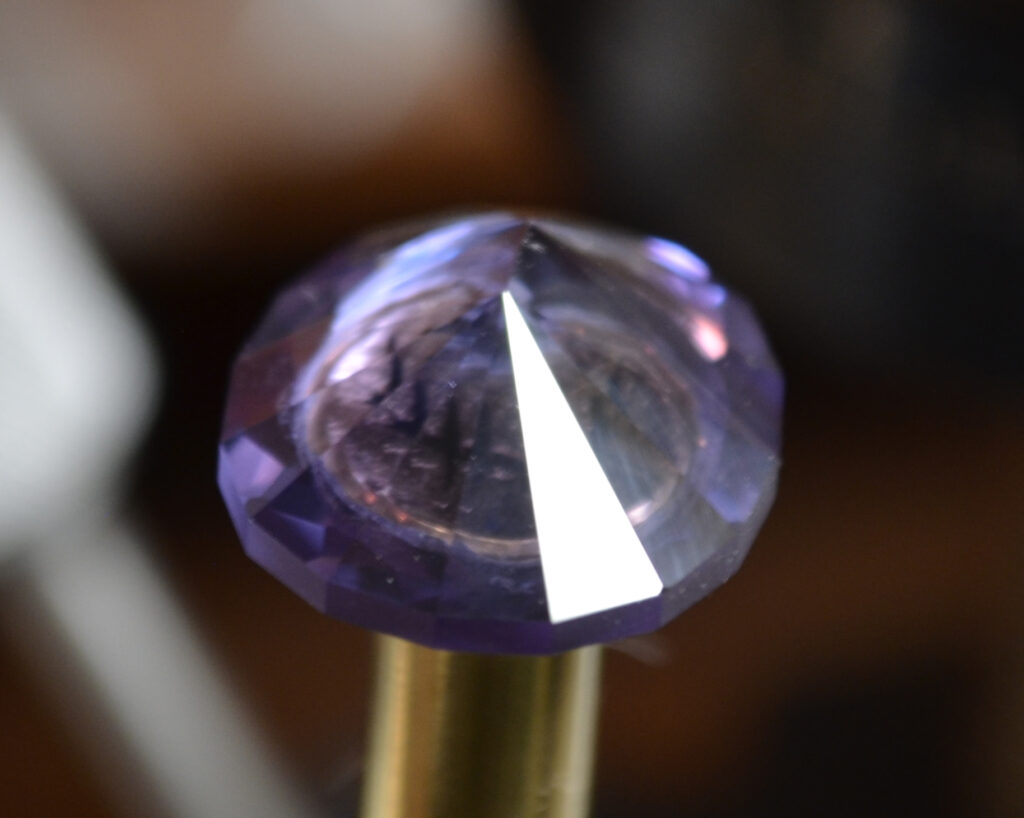
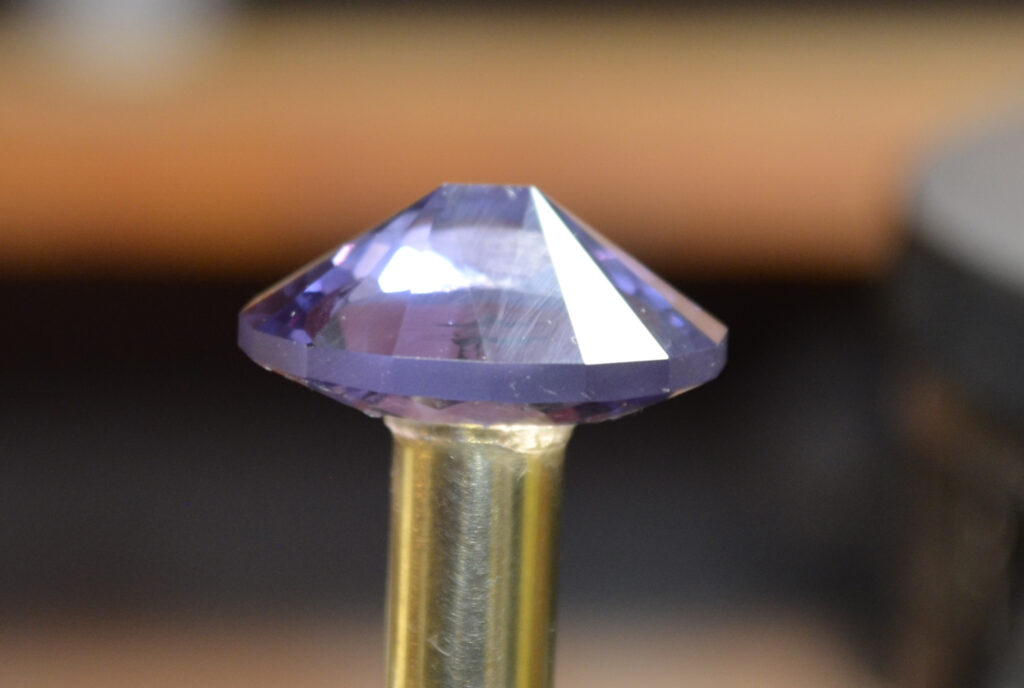
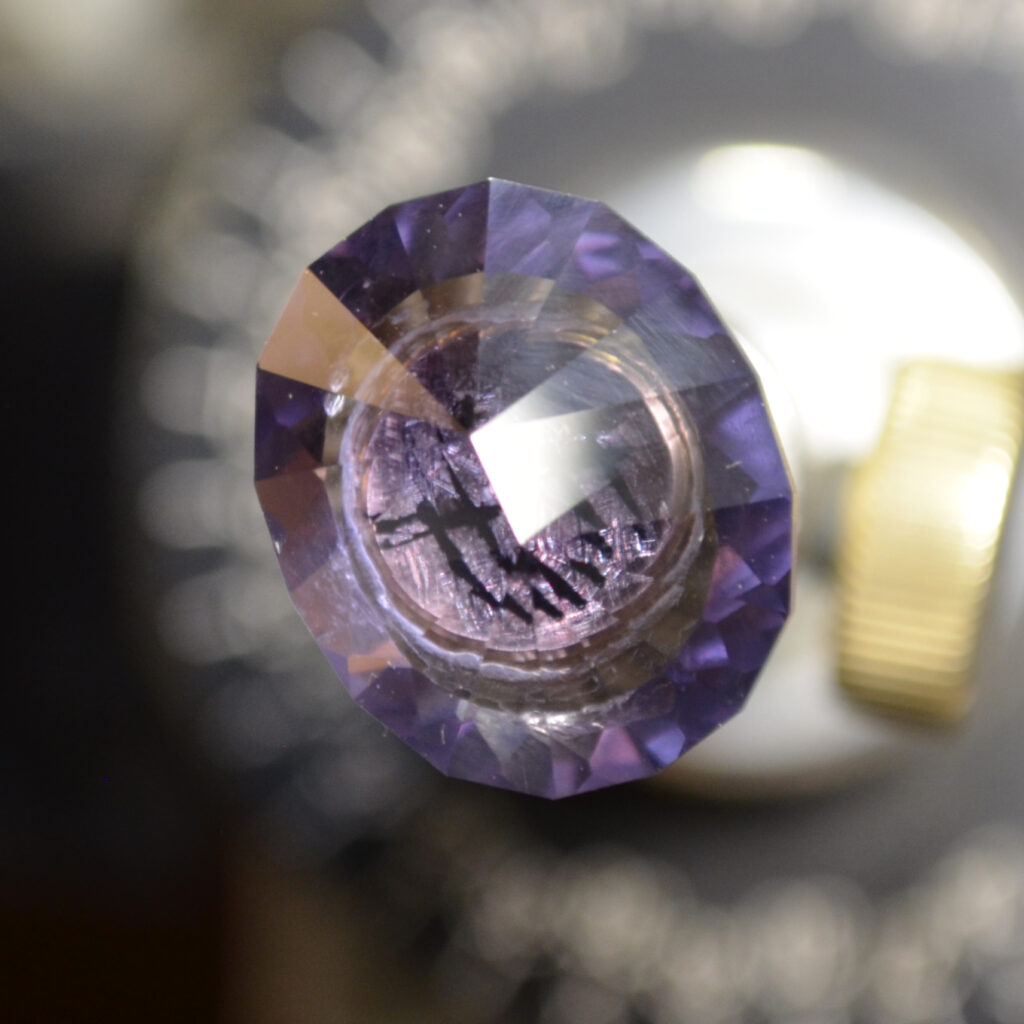
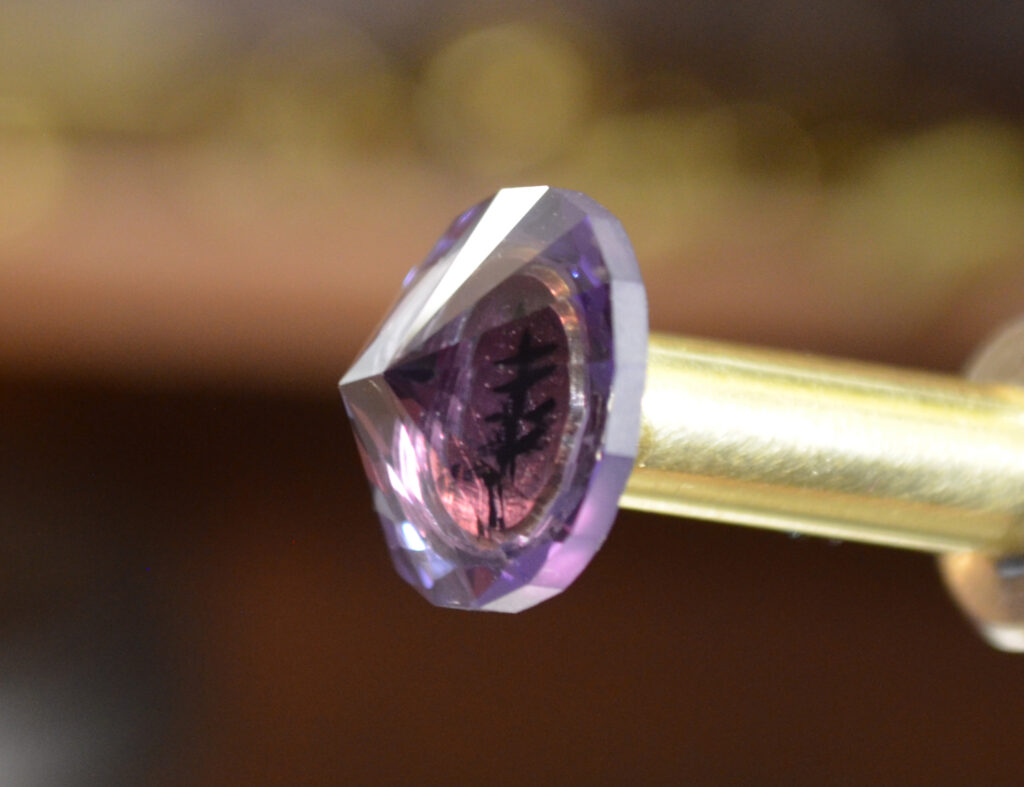
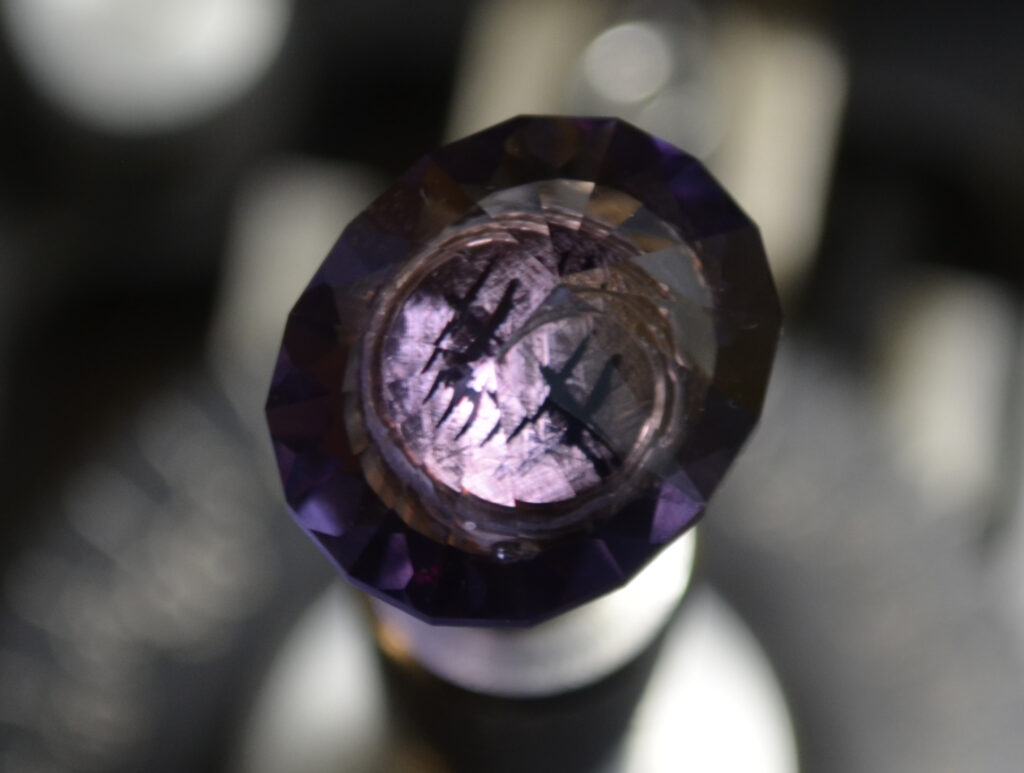
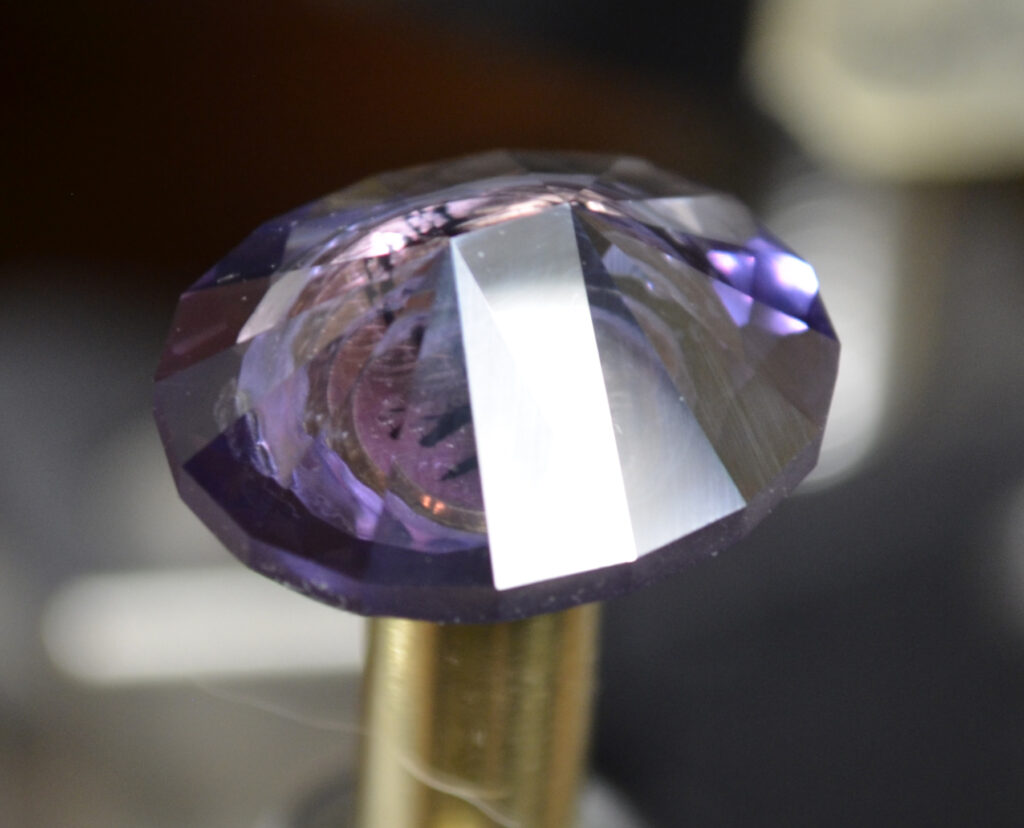
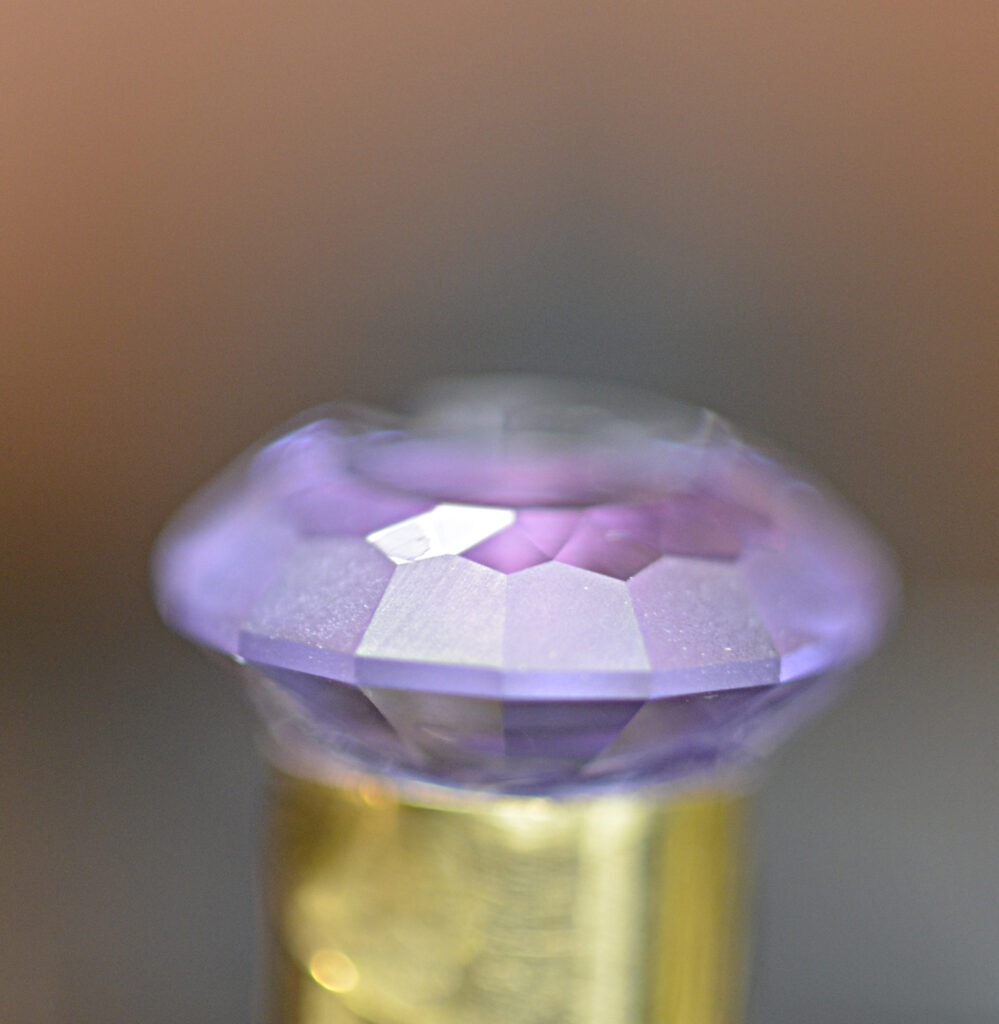
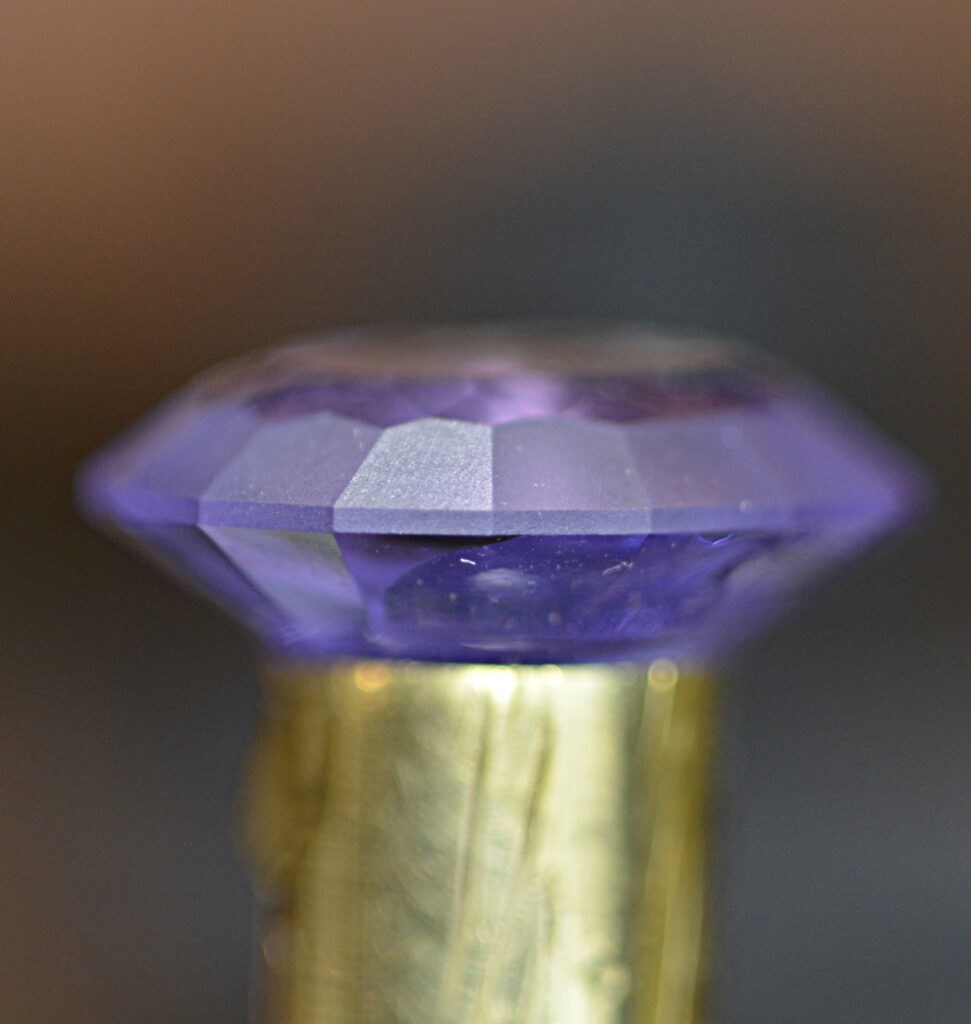
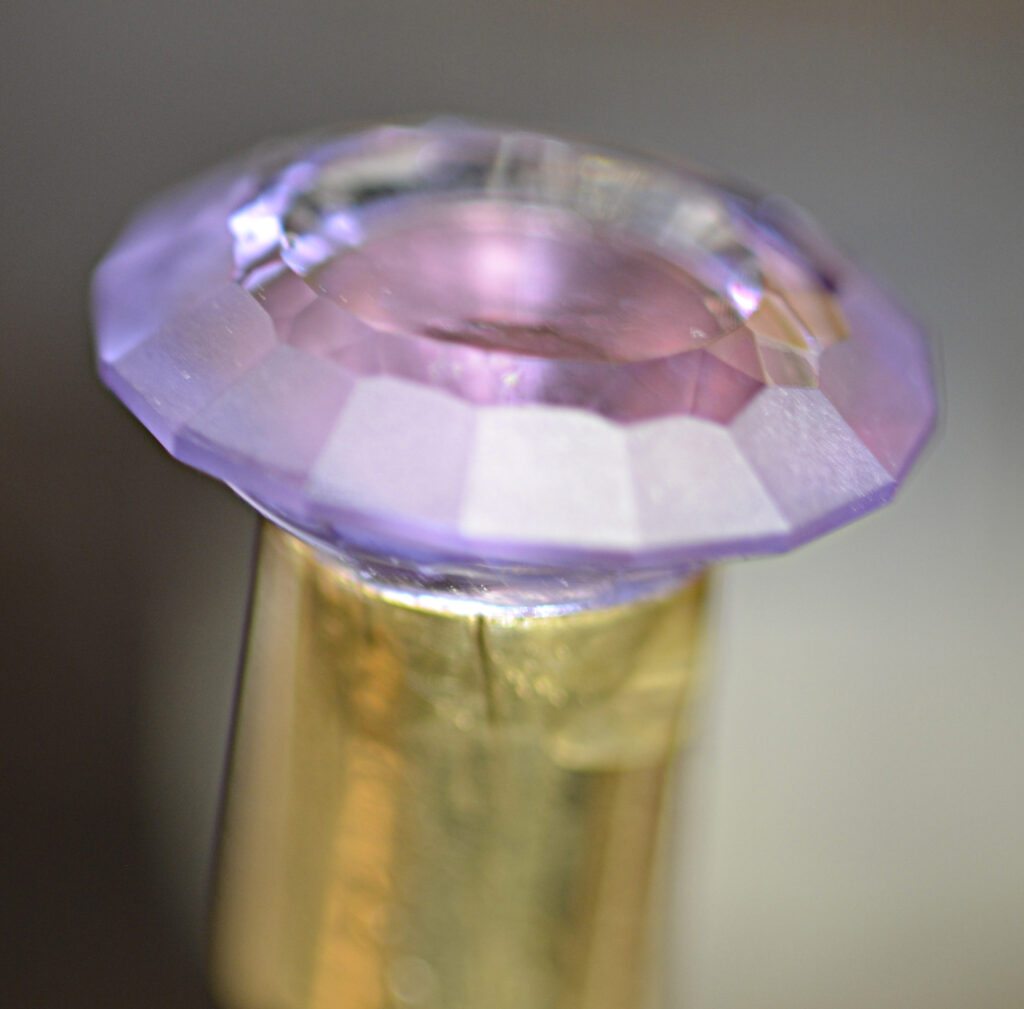
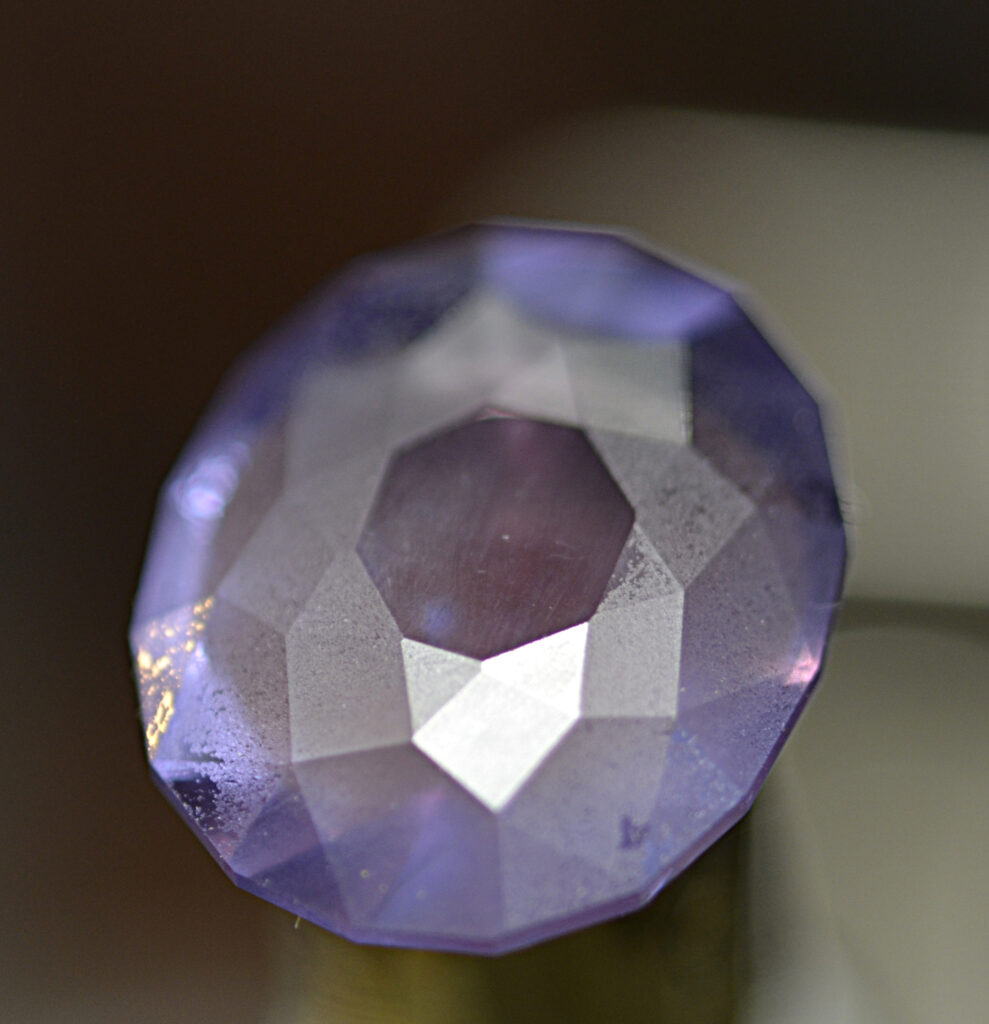
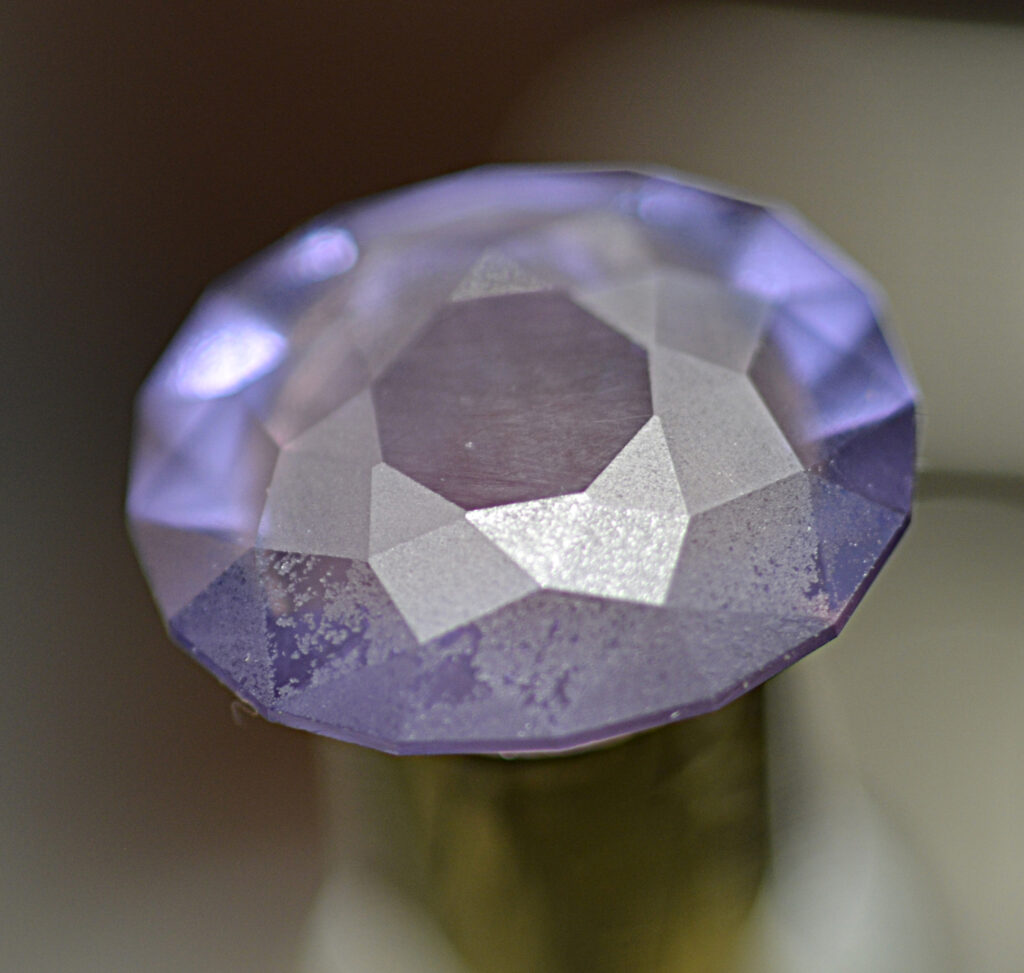
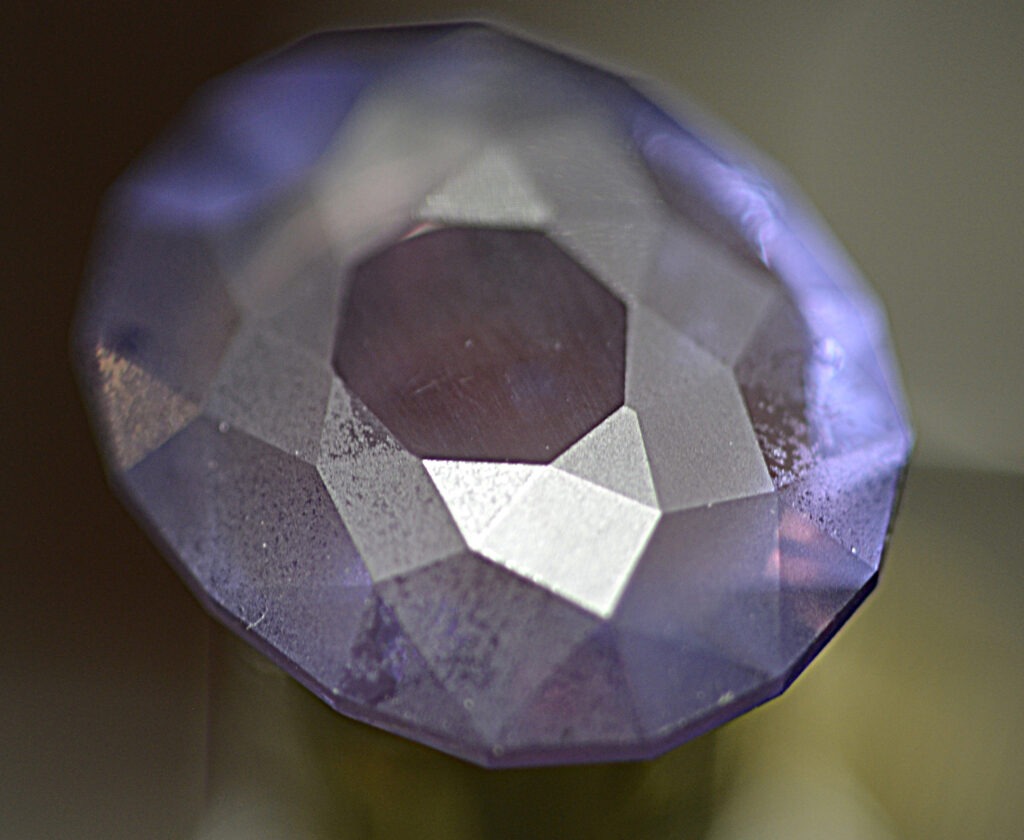
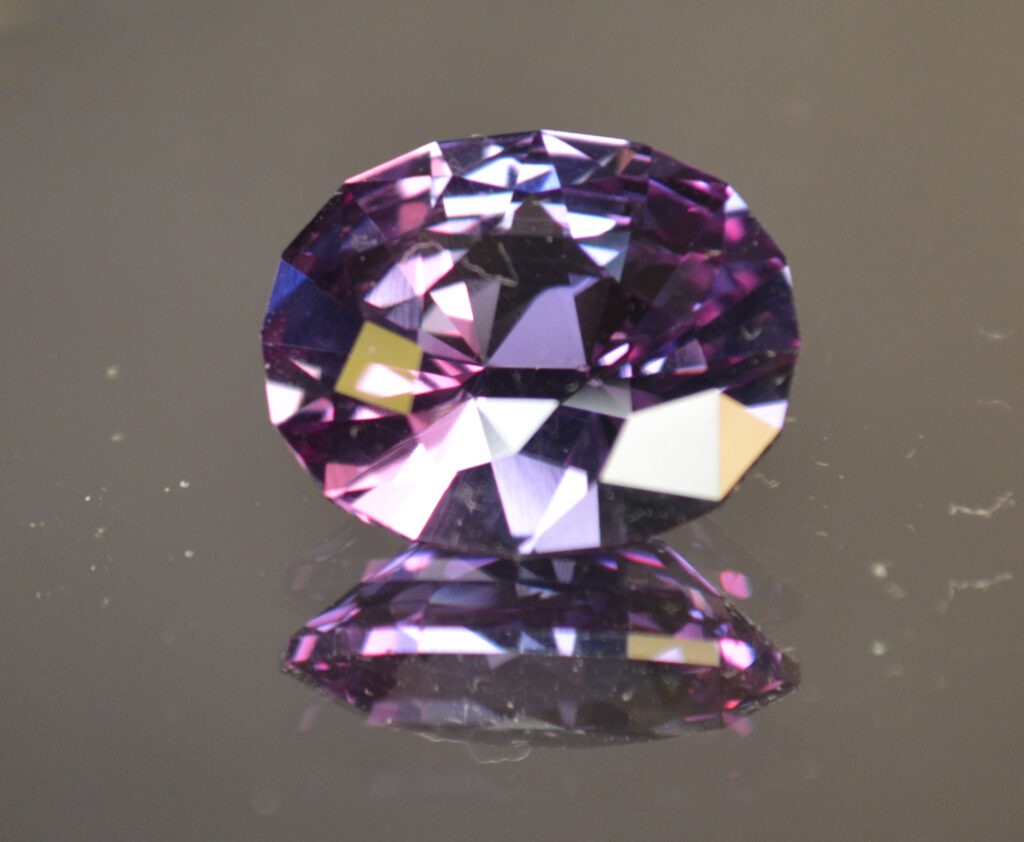
Here is a series of photos of the gem that I took with a macro lens. Just making a record of the original gem and its’ condition before I do the recut. You can see the irregularities of the original cut very clearly. I also got a nice shot of the blue flash in that third image. (You can click on any image to see a full sized picture)
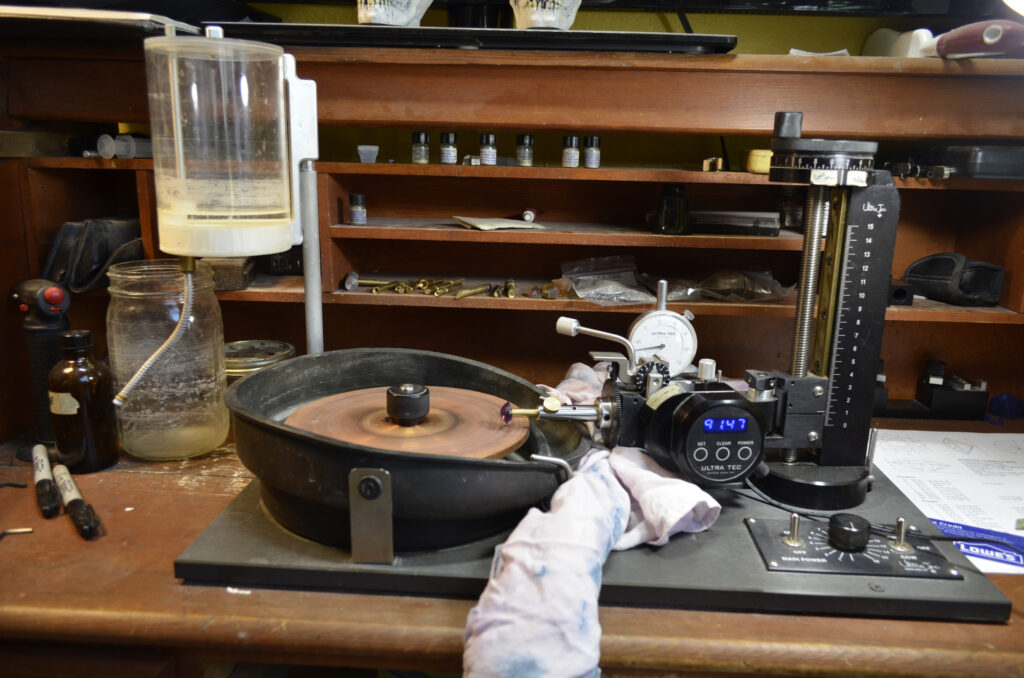
Beginning to cut
These photos take you through getting the size established and laying in the first pavilion facets. This is where I check to make sure that my size estimates are going to work and lay the foundation for the rest of the gem.
Girdle Established and Main Pavilion Facets Roughed In
We now have the outline of the gemstone and the size established. This is a fairly shallow gem, so there are minimal pavilion facets. The images show the pavilion facets roughed in. We now move to pre-polishing and then polishing those facets. The angles on those facets will create the brilliant return of light when the gem is finished. The crown cut is what will make this stone sparkle!
Prepolish Pavilion
In this stage we go from the frosty look of a 600 mesh diamond to the nearly polished look of a 3000 diamond mesh. At the end of this stage we are ready to apply the final polish by taking it to a 100,000 mesh diamond. It is difficult to photograph the detail on the gemstone after the pre-polishing is done. The gem is now so transparent that seeing individual facets with a camera is nearly impossible.
Polish Pavilion
Now the pavilion has been polished. The facets have a mirror finish and have been polished to 100,000 mesh diamond… extremely fine. It is VERY difficult to photograph, so here is a short video of the gem being rotated on the quill of the faceting machine. (Sorry about the shaky video… it’s hard to hold the quill still while rotating.)
Transferring the Gem
In the next stage I remove the gem from the faceting machine quill and place it in the “transfer block” This is how we change from cutting the pavilion to cutting the crown of the stone. I use a 2 part epoxy to attach a “dop stick to the freshly polished pavilion and let it cure. Once cured I heat the dop stick that I used to cut the pavilion and remove it from the table of the gem. It should be level with the axis of the pavilion cut and once I get it on the machine again I can line up the facets to cut the crown.
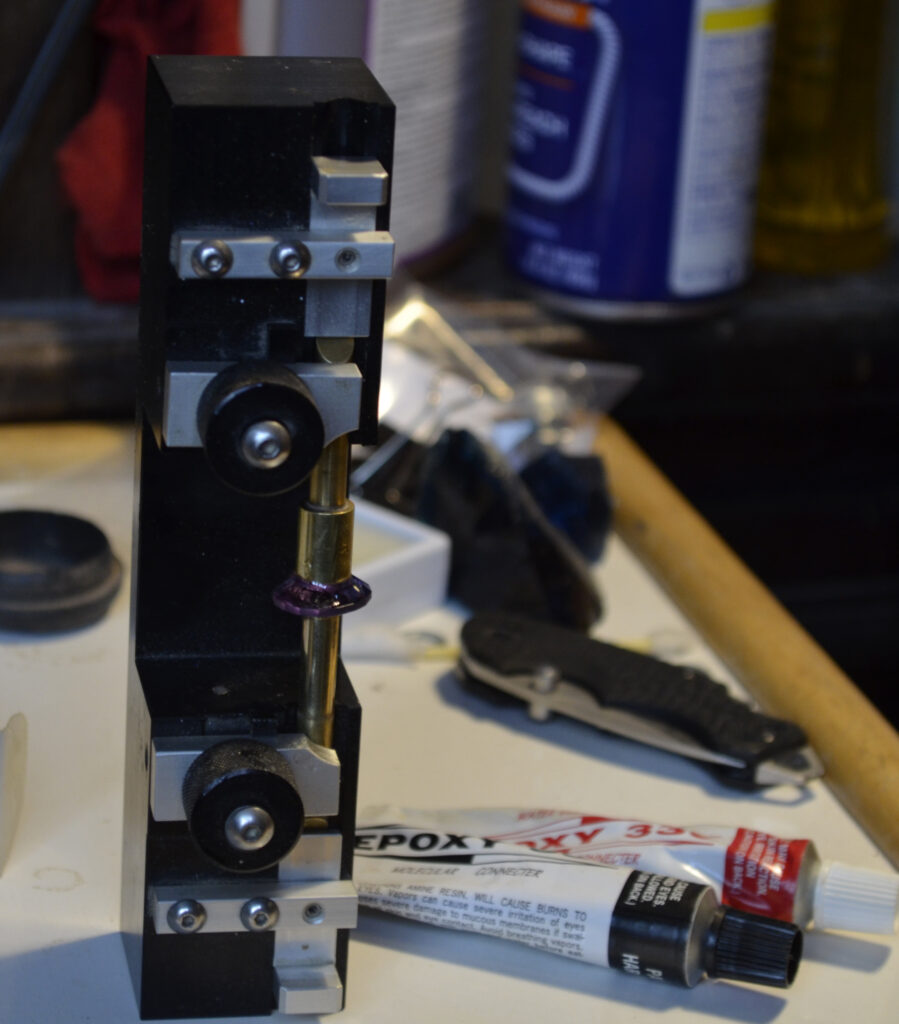
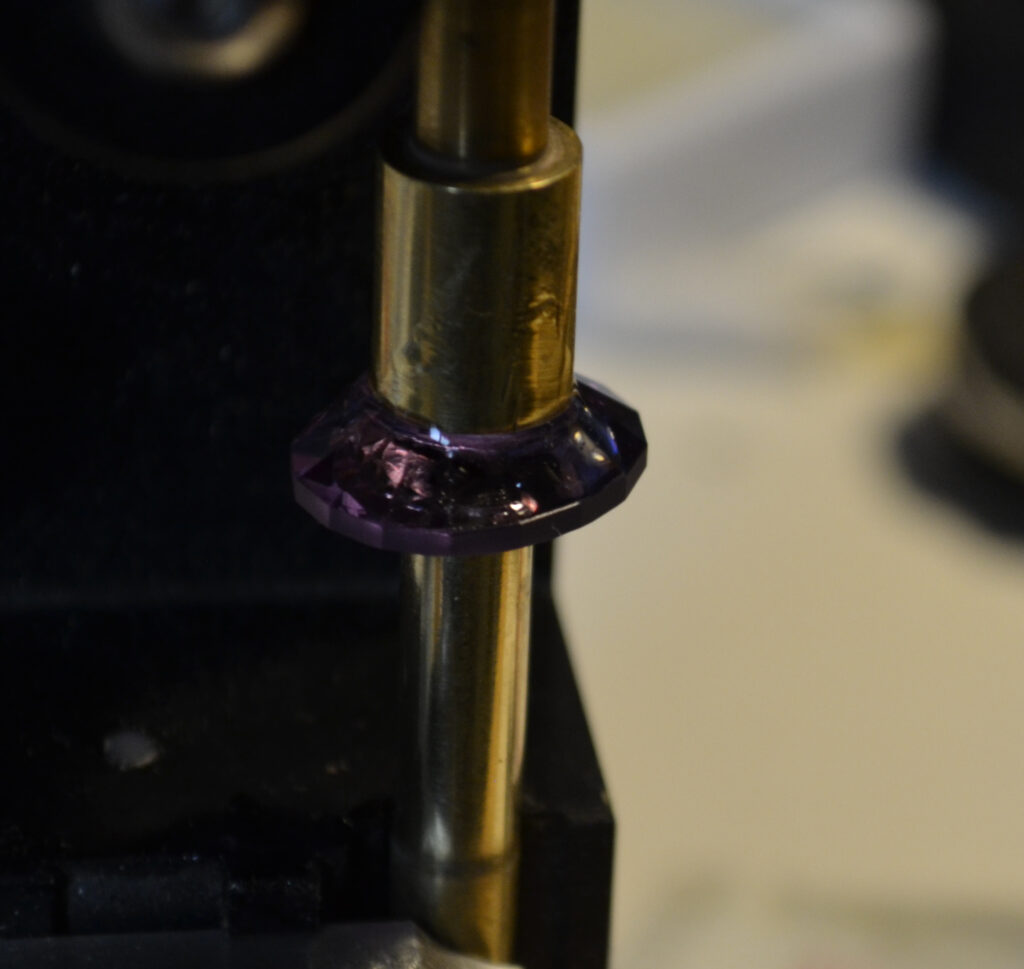
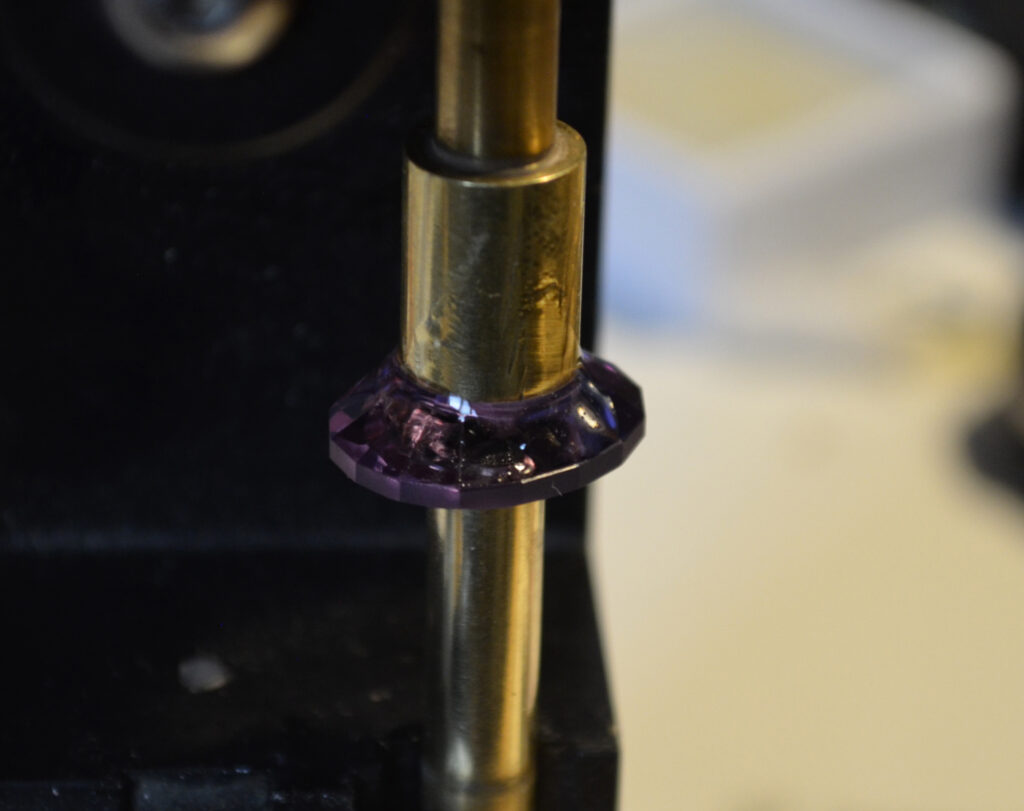
Next is a short video showing how I remove the dop stick from the gem’s table so that I can start cutting it. Once I remove it from the transfer jig, I wrap the stone in wet TP to isolate it from heat. Then I torch the dop stick which breaks the bond of the superglue I used to attach the first dop stick when cutting the pavilion. Once that is off, I scrape the excess glue off the table and chuck it up in the faceting machine.
And now we’re ready to cut the crown…
Rough-In Crown
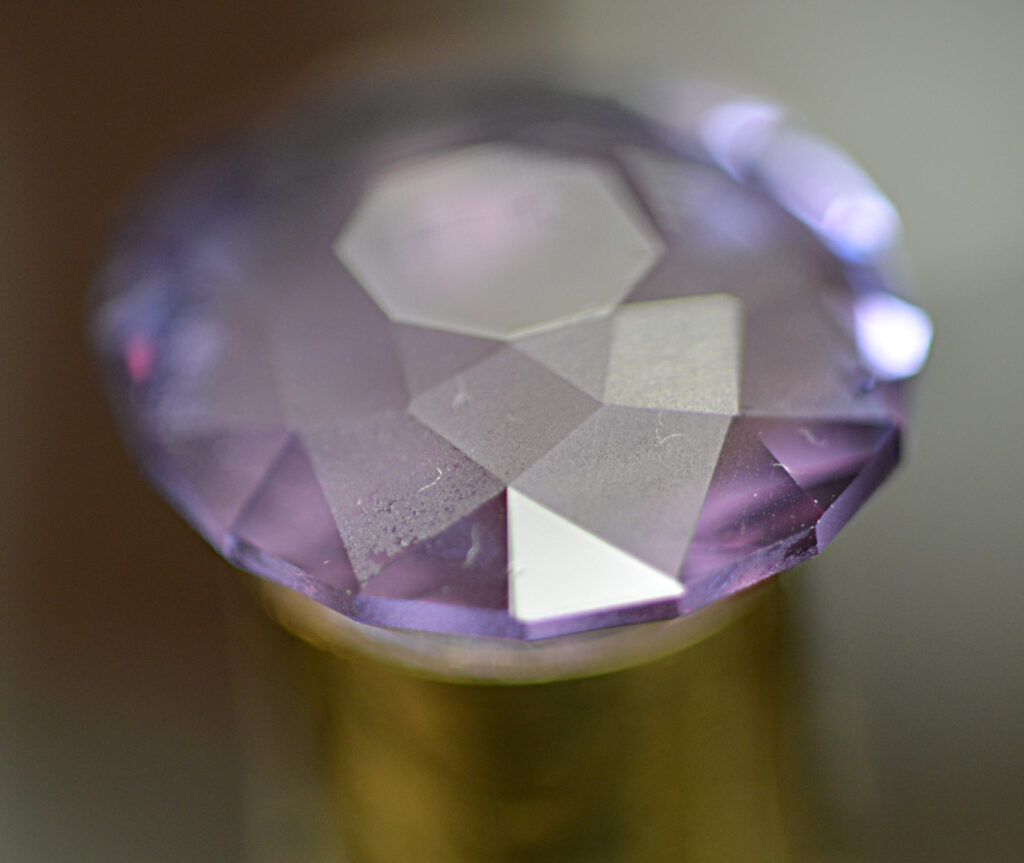
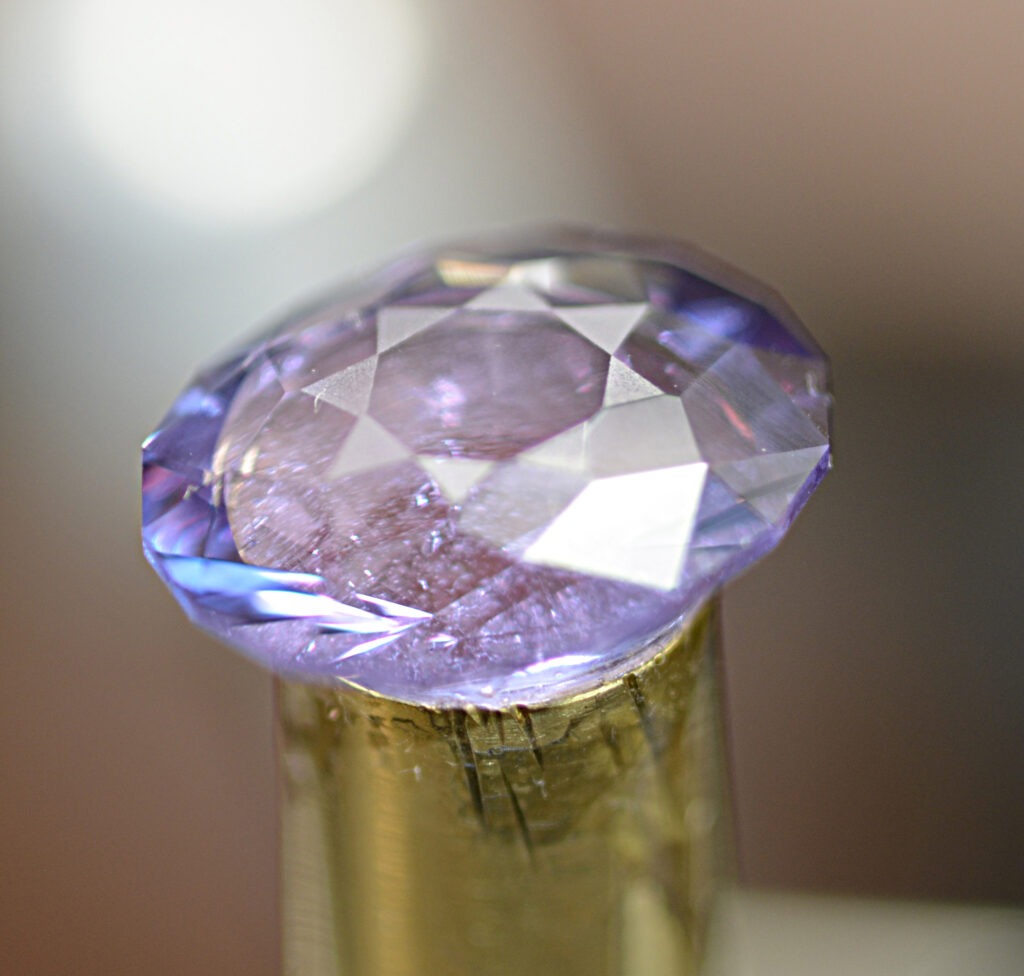
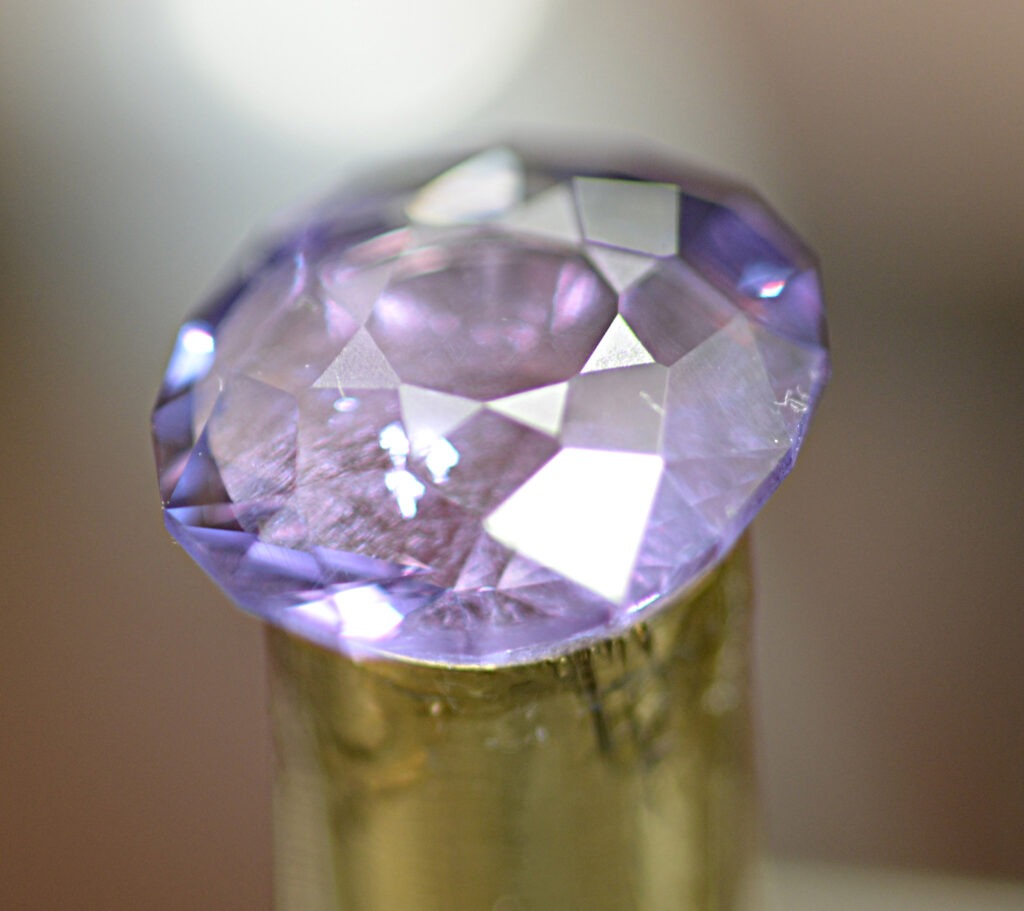
This next series of photos shows roughing in the crown facets. As we progress you see more facets being added. Once they are all roughed in, we switch over to the pre-polish phase and the facets start getting transparent. Pre-polish is where I start fine tuning, balancing the sizes, and getting the meet points close before polishing.
Pre-Polish
Final Polish
And then the final polish is put on the crown. Now all the meet points are dialed in and the facets are balanced. The gem is very transparent now but is not showing brilliance yet because of the glue used to attach it to the dop stick. At this stage the only things left to do are polishing the girdle facets and polishing the table.
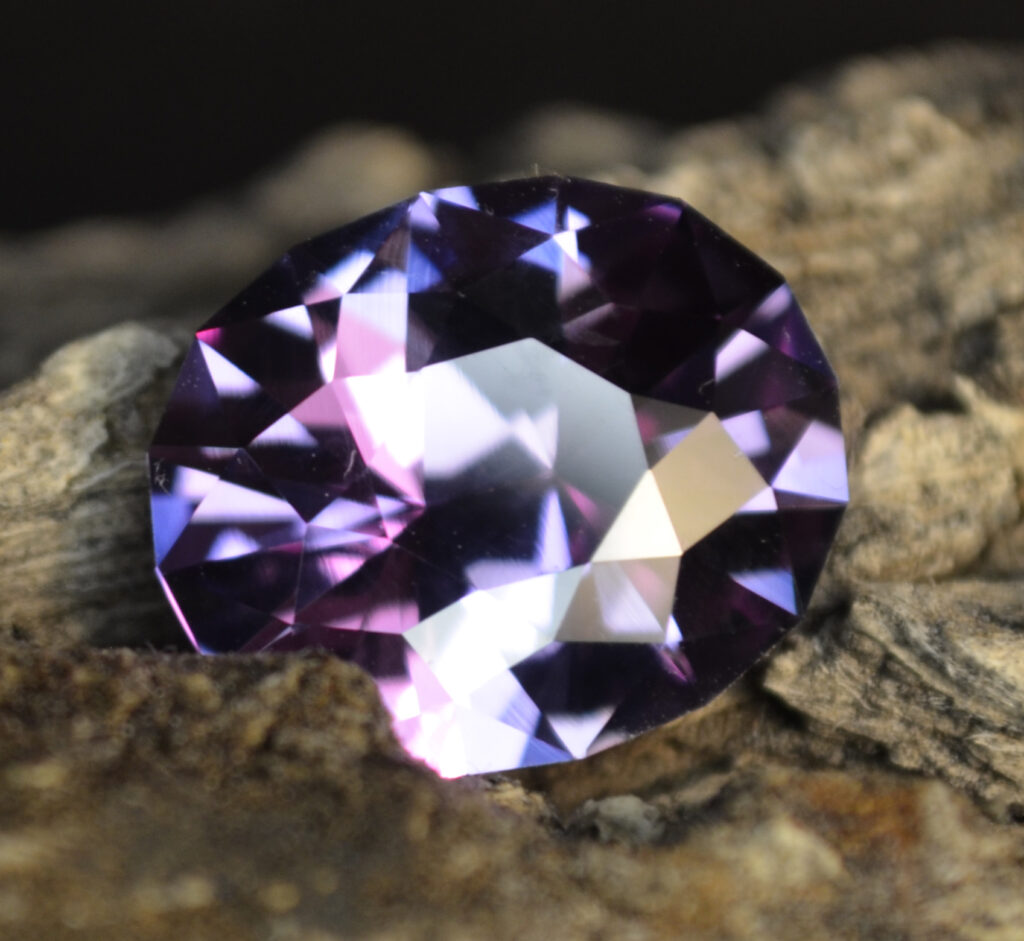
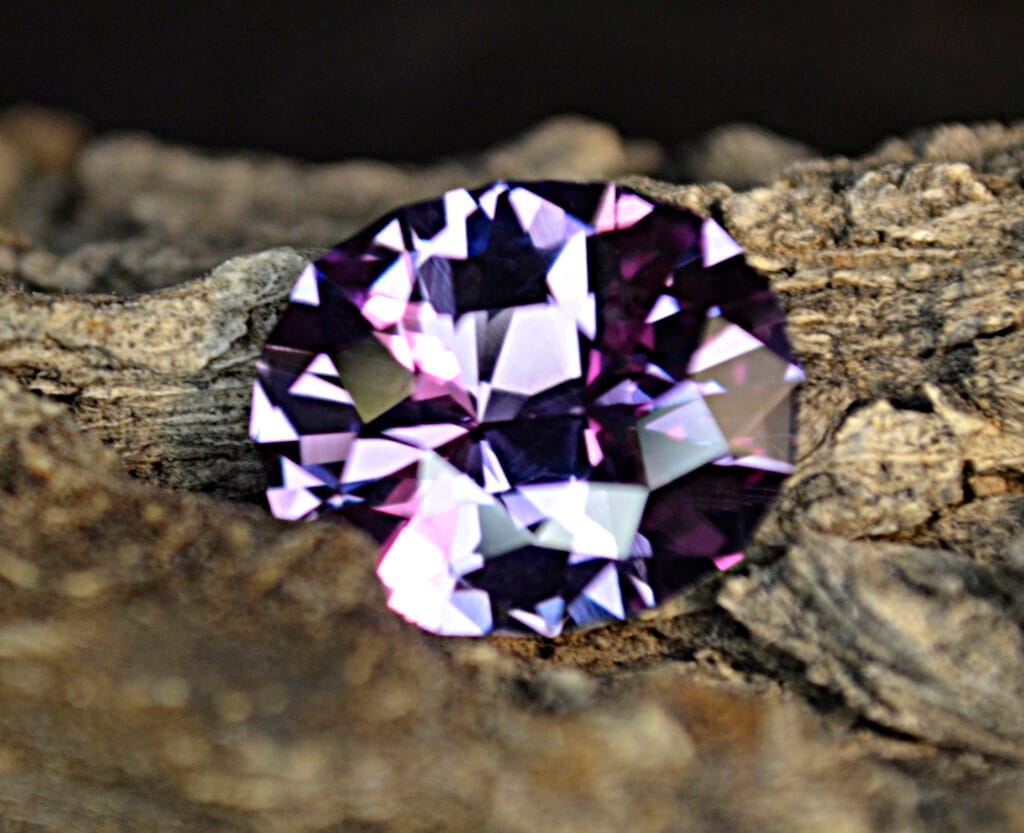
And following those procedures, the gemstone is now finished. Taking photos at this stage won’t show much, so we’re going to go right to photos of the finished gem.
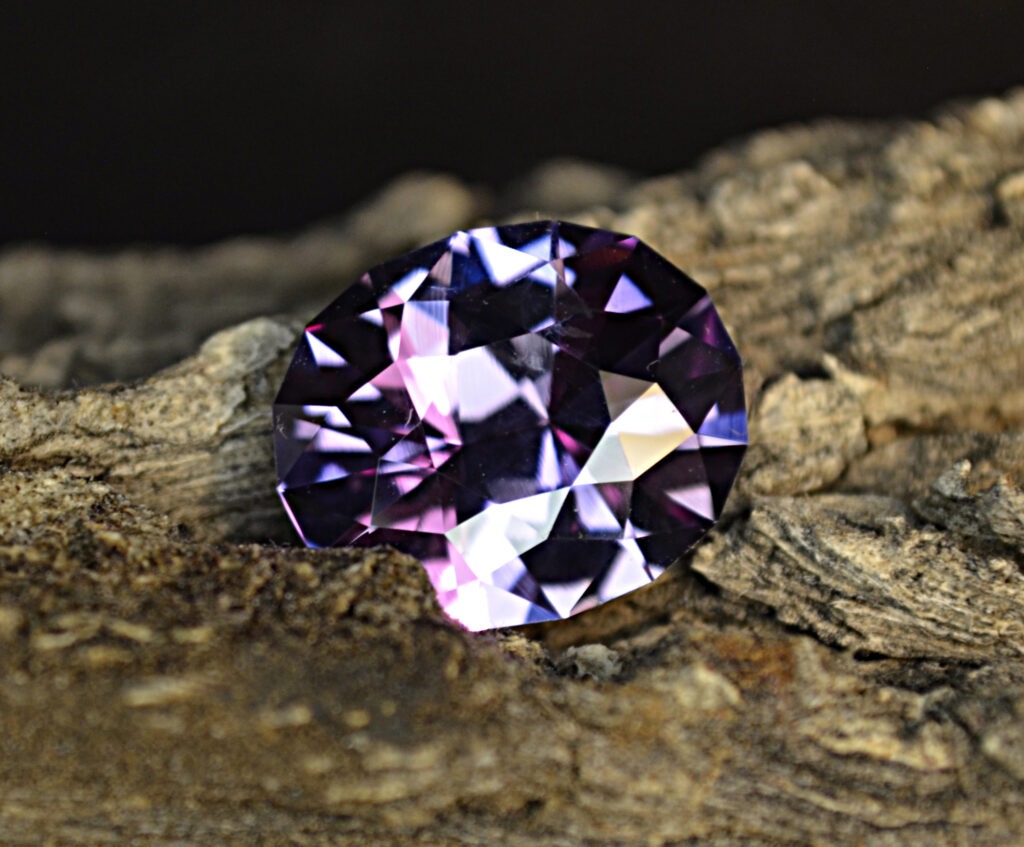
Final Summary
BEGINNING GEM SPECS
Material – Lab grown Sapphire
Commercial Cut Oval
Length – 18.87mm
Width – 16.32mm
Depth – 8.61mm
Weight – 23.49cts
FINAL GEM SPECS
Custom Cut – Starlite designed by Jim Perkins (2001)
Length – 15.89mm
Width – 13.22mm
Depth – 7.88mm
Weight – 12.60cts

